


Waxing your snowboard is an essential maintenance task that not only enhances your performance on the slopes but also preserves the life of your board. With the right tools, materials, and techniques, you can wax your snowboard at home with professional results. Here’s how to achieve a smooth, efficient slide on the snow.
What You’ll Need:
- High-quality snowboard wax
- Waxing iron (specifically for snowboards)
- Plastic scraper
- Brush (brass or nylon)
- Sturdy table or workbench
- Safety goggles
- Well-ventilated area
Step-by-Step Instructions:
- Prepare Your Work Area
Set up your workspace on a sturdy table or workbench in a well-ventilated room. Safety goggles are a must to protect your eyes from any wax splatter.
- Clean the Base
Clean your snowboard’s base with a damp cloth to remove residual dirt or previous wax. Allow the base to dry thoroughly before proceeding.
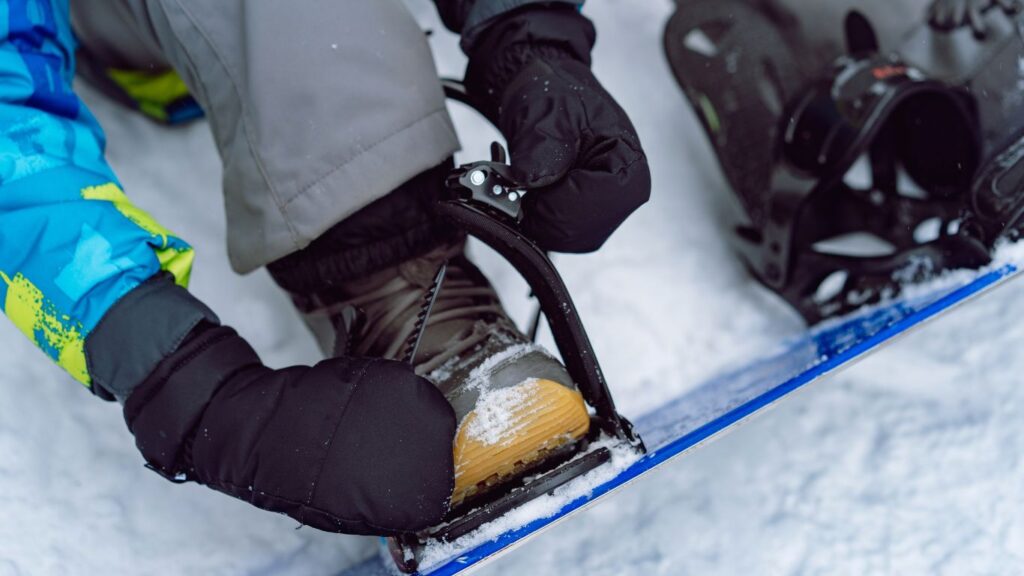
- Secure Your Board
Ensure your snowboard is securely placed on the work surface to avoid any movement during waxing.
- Melt The Wax
Power up the waxing iron to the recommended temperature for your wax, typically from 110-140°C (230-284°F). Drip wax onto the board by holding the wax against the iron, covering the base with a thin layer.
- Spread the Wax
Carefully spread the molten wax with the iron, covering the entire base. Work from end to end to ensure complete coverage without overheating any part of the board or wax.
- Cool Down
Allow the wax to cool and solidify for at least 20-30 minutes, ensuring it seeps into the base deeply.
- Scrape Off Excess
Use the plastic scraper to remove extra wax— start from tip to tail, employing smooth, firm strokes.
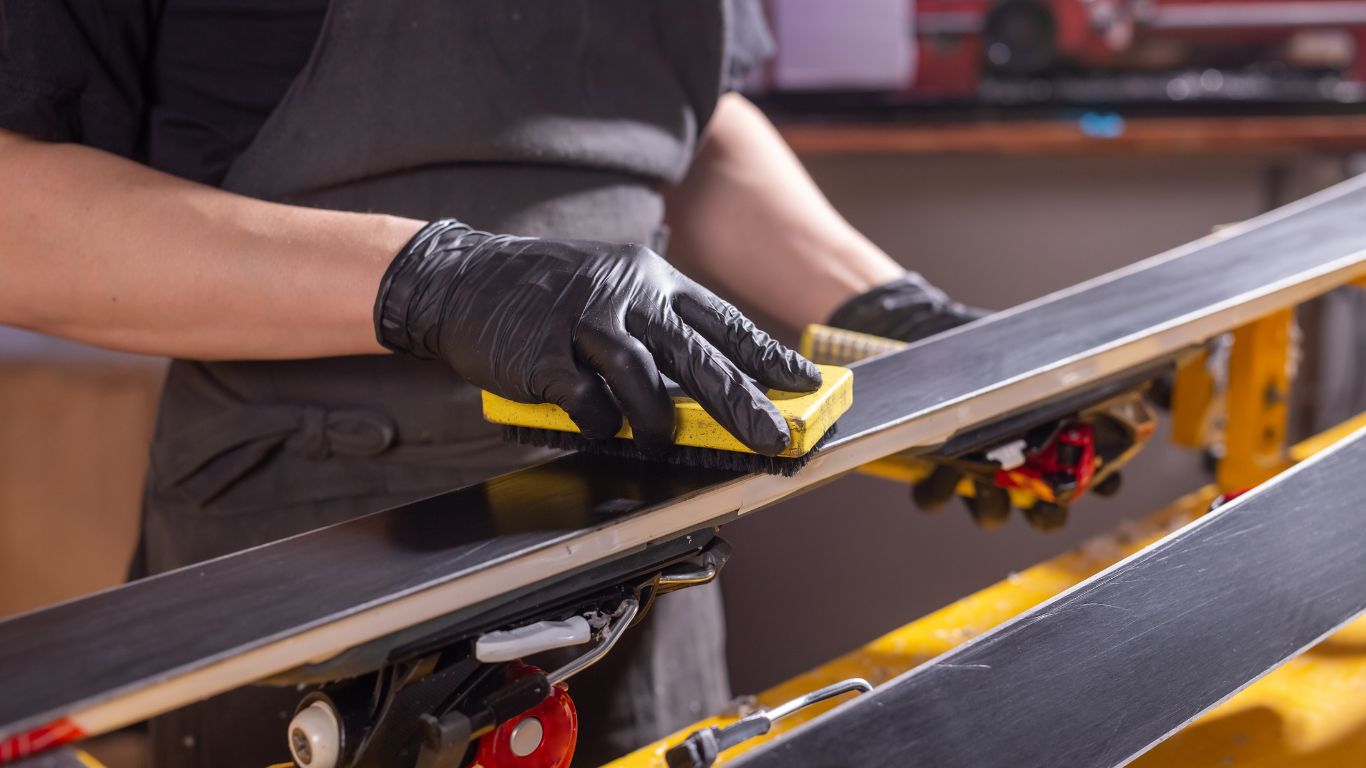
- Brush the Base
Buff the board’s base using a brush. Persistent tip-to-tail strokes will remove leftover wax and smooth out the base.
- Finish Up
Your snowboard is now waxed and ready for the mountains! Keep your waxing tools safe for your subsequent usage.
Video Tutorial
Click here for a step-by-step video tutorial on snowboard waxing.
Waxing Tips and Common Mistakes to Avoid
- Use the suitable wax: Match the wax to the temperature conditions.
- Temperature check: Ensure the iron isn’t too hot to prevent damage.
- Ventilation is vital: Wax in an area with adequate airflow.
- Dry base: Wax adheres best to a clean, dry surface.
- Patience with the cooling: Allow the wax to bond correctly with the base.
- Scraping technique: Use fluid strokes and avoid digging into the base.
- Comprehensive brushing: Ensure all wax is buffed off for a polished finish.
- Avoid messy spaces: Wax over a surface that’s easy to clean.
Safety First
Wax in a space with enough air movement to dissipate fumes, and always sport your goggles. Pay close attention to the iron’s temperature to avert burns or damage. Fix your workstation firmly and handle the equipment properly to dodge accidents. Finally, make sure your waxing kit is stored away safely after use.
Happy shredding, and remember, a well-waxed snowboard is a happy snowboard!
(Note: Always comply with product instructions and safety guidelines when using equipment or materials.)


Have you ever thought about adding a little bit more than just your articles?
I mean, what you say is important and everything.
But just imagine if you added some great photos or video clips
to give your posts more, “pop”! Your content is excellent but with images and videos, this site could definitely be one of the very best
in its field. Wonderful blog!