Mounting a Blink outdoor camera is a simple process that can be done in just a few steps. By following the manufacturer’s instructions and using the right tools, you can ensure your camera is securely installed and ready to capture footage of your outdoor space. This post will walk you through the steps to mount your Blink outdoor camera, ensuring you have clear and effective surveillance for your home or business.
Choose the right location for your camera.
Step 1: Choose a location with a clear view: When mounting your Blink outdoor camera, choose a location with a clear and unobstructed view of the area you want to monitor. This will ensure that the camera captures everything you need it to.
Step 2: Consider the angle and height: Mount the camera at a height and angle that provides the best view of the area you want to monitor. Make sure it is positioned in a way that minimizes blind spots and captures the most critical areas.
Step 3: Ensure stability and protection: Ensure the mounting location is stable and secure to prevent the camera from being knocked or moved. Additionally, consider using a protective cover or housing to shield the camera from the elements and potential damage.
Step 4: Test the camera placement: Test the placement once the camera is mounted to ensure it captures the desired area effectively. Make any necessary adjustments to the positioning or angle to optimize the camera’s view.
Use the mounting kit provided with the camera.
Step 1: Locate the mounting kit provided with the camera. It should contain screws, anchors, and a mount for the camera.
Step 2: Choose a location for your camera. Ensure it is within your Wi-Fi network’s range and has a clear view of the area you want to monitor.
Step 3: Use a pencil to mark the spots where you will drill holes for the screws.
Step 4: Use a drill to create the holes for the screws, then insert the anchors into the holes.
Step 5: Attach the mount to the wall or surface using the screws provided in the mounting kit.
Step 6: Once the mount is secure, attach the Blink Outdoor camera and adjust it to the desired angle.
Step 7: Ensure the camera is connected to your Wi-Fi network and functioning correctly.

Follow the step-by-step instructions in the user manual.
Step 1: Gather your tools and the camera: Before you start, ensure you have all the tools and the Blink outdoor camera ready to be mounted.
Step 2: Choose a location: Select a location for your camera that provides a clear view of the area you want to monitor. Make sure it is within range of your Wi-Fi network.
Step 3: Install the mounting bracket: Use the included screws to attach the mounting bracket to the chosen location. Make sure it is securely attached and level.
Step 4: Attach the camera: Once the mounting bracket is in place, attach the Blink outdoor camera to the bracket using the provided screws.
Step 5: Adjust the camera angle: Adjust the camera angle to ensure it captures the desired area. Test the camera to make sure it is functioning correctly.
Step 6: Connect to the app: Follow the instructions in the user manual to connect the camera to the Blink app and set up any additional features or settings.
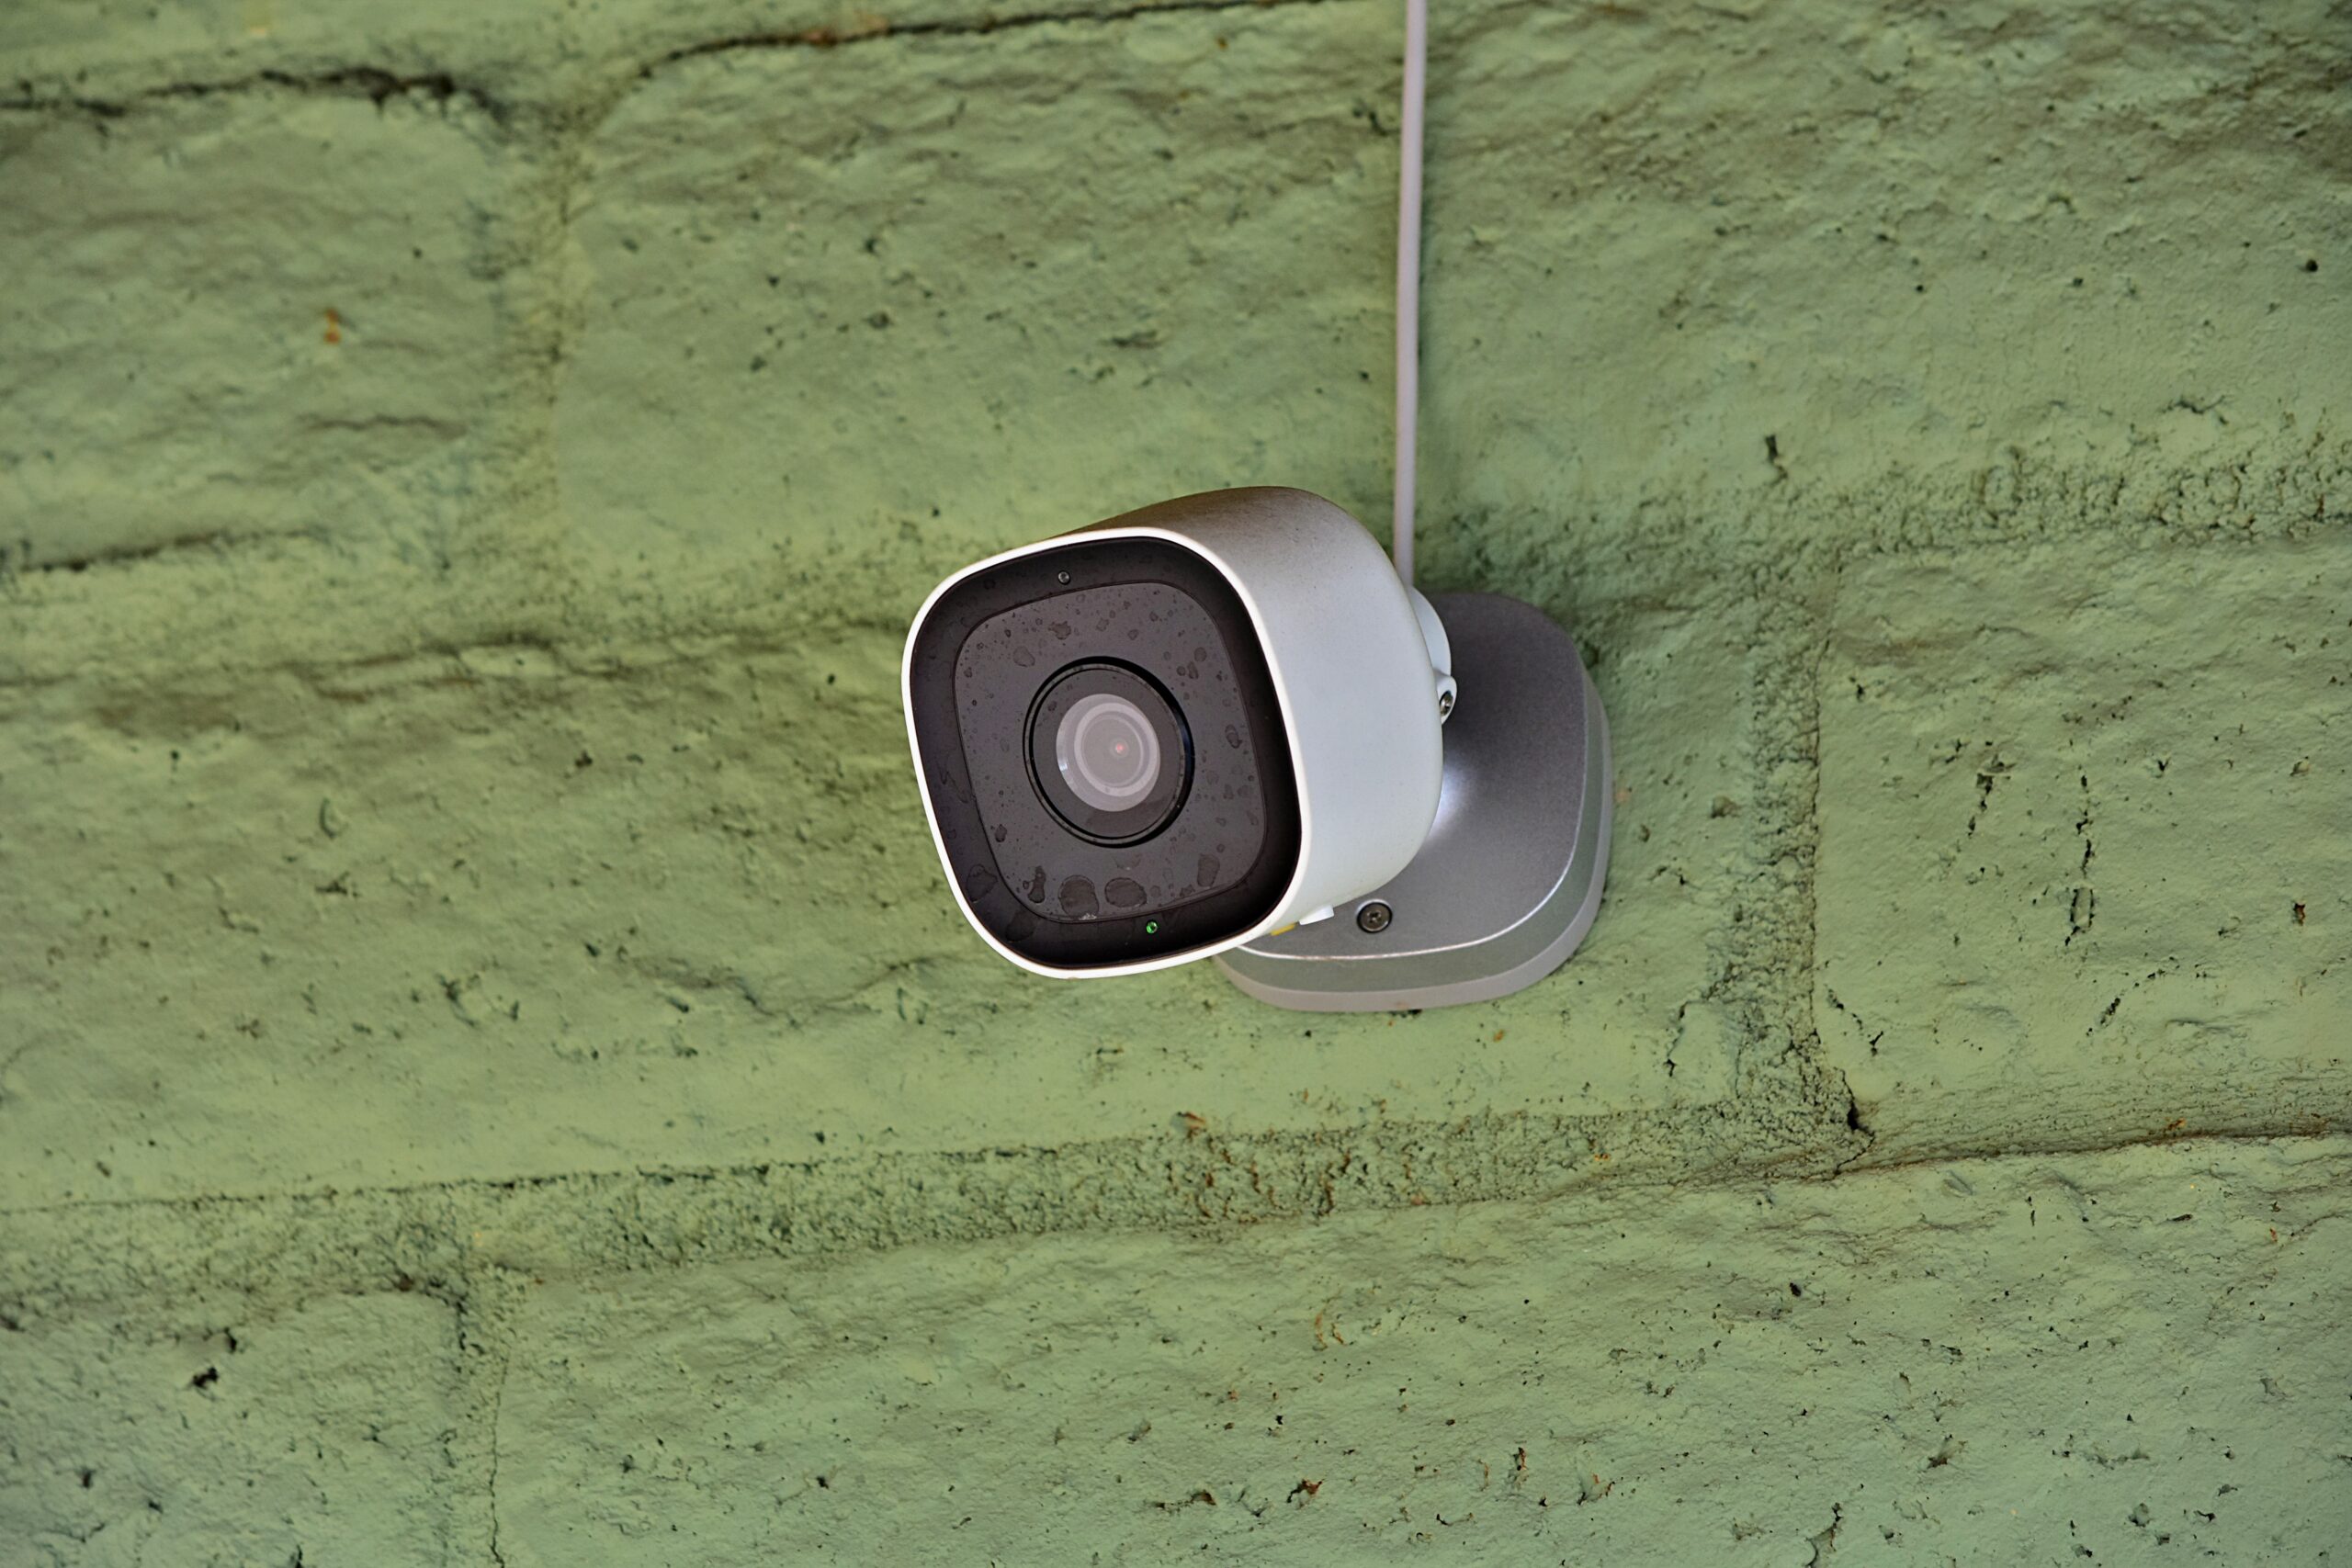
Secure the camera to ensure it is stable and has a clear view.
Step 1: Choose a location: Select a suitable location for mounting your Blink outdoor camera. Ensure it has a clear view of the area you want to monitor and is within range of your Wi-Fi network.
Step 2: Use the mounting bracket: Attach the mounting bracket to the chosen location using screws or adhesive. Make sure it is secure and stable.
Step 3: Mount the camera: Slide the Blink outdoor camera onto the mounting bracket and secure it. Ensure it is stable and has a clear view of the area you want to monitor.
Step 4: Adjust the angle: Once the camera is mounted, adjust the angle to ensure it has a clear view of the area you want to monitor. Test the camera to ensure it is securely in place and functioning correctly.
Test the camera to ensure it works correctly and captures the desired area.
Step 1: Choose a location: Select a location for your Blink outdoor camera that provides a clear view of the desired area and is within range of your Wi-Fi network.
Step 2: Mount the camera: Use the included mounting hardware to attach the camera to the chosen location securely and securely. Ensure it is positioned at the desired angle and securely fastened to the surface.
Step 3: Connect to Wi-Fi: Follow the instructions provided with the camera to connect it to your Wi-Fi network. This is essential for the camera to function correctly and transmit footage to your device.
Step 4: Test the camera: Once it is mounted and connected to Wi-Fi, test it to ensure it works appropriately and captures the desired area. Check the footage on your device to confirm that the camera is positioned correctly and provides the necessary coverage.
How to mount blink outdoor camera FAQ
1. How do I mount the Blink outdoor camera? To mount the Blink outdoor camera, choose a location that gives you the best view of the area you want to monitor. Then, use the included mounting hardware to secure the camera in place. Make sure the camera is positioned at the right angle for optimal coverage.
2. Do I need any special tools to mount the camera? You may need a drill and screws to mount the camera, depending on the surface you are mounting it to. The camera has mounting hardware, but additional tools may be needed for specific installations.
3. Can I mount the camera on any surface? The Blink outdoor camera can be mounted on various surfaces, including wood, metal, and masonry. Just make sure to use the appropriate hardware and consider the surface’s weight and stability.
4. How high should I mount the camera? It is recommended to mount the camera at a height of 7 to 10 feet for optimal performance. This height provides a good vantage point while also keeping the camera out of easy reach.
5. Can I adjust the angle of the mounted camera? Yes, you can adjust the angle of the mounted camera to ensure it captures the desired area. The camera comes with a swivel mount that allows for easy adjustment.
6. What is the best way to secure the camera in place? Make sure to use the included mounting hardware and follow the instructions provided by Blink for connecting the camera. Double-check the stability of the mount to prevent any accidental movement or tampering.
7. Can I mount the camera outdoors in any weather conditions? Yes, the Blink outdoor camera is designed to withstand various weather conditions, including rain and snow. However, following the manufacturer’s recommendations for outdoor installation is essential to ensure the camera remains fully operational.
8. Are there any special considerations for mounting multiple cameras? If you are mounting various Blink outdoor cameras, consider the overall coverage area and the positioning of each camera to avoid any blind spots. Plan the camera placement to maximize your system’s monitoring capabilities.