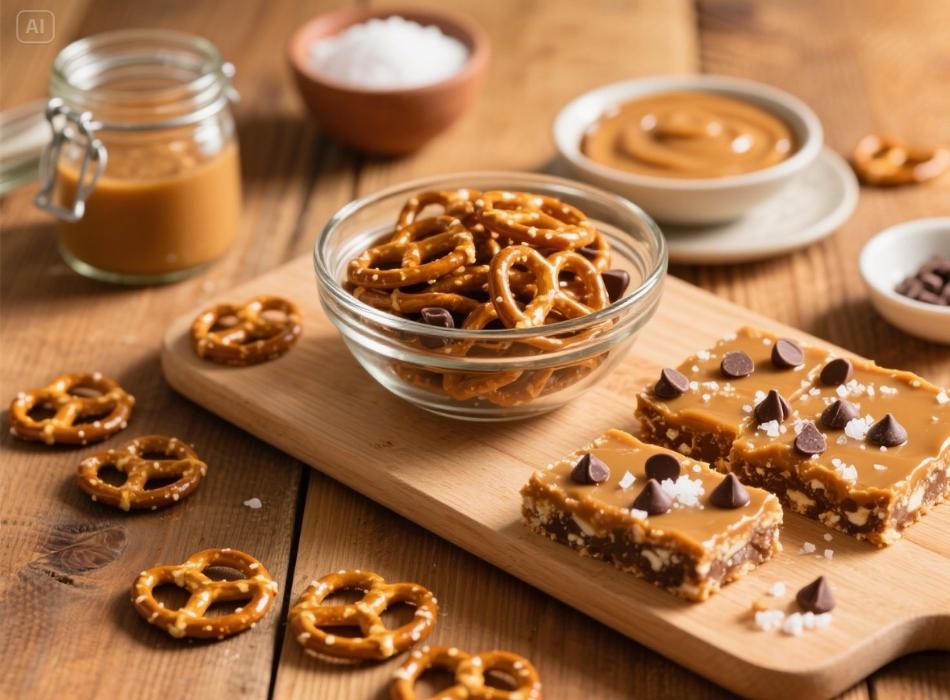
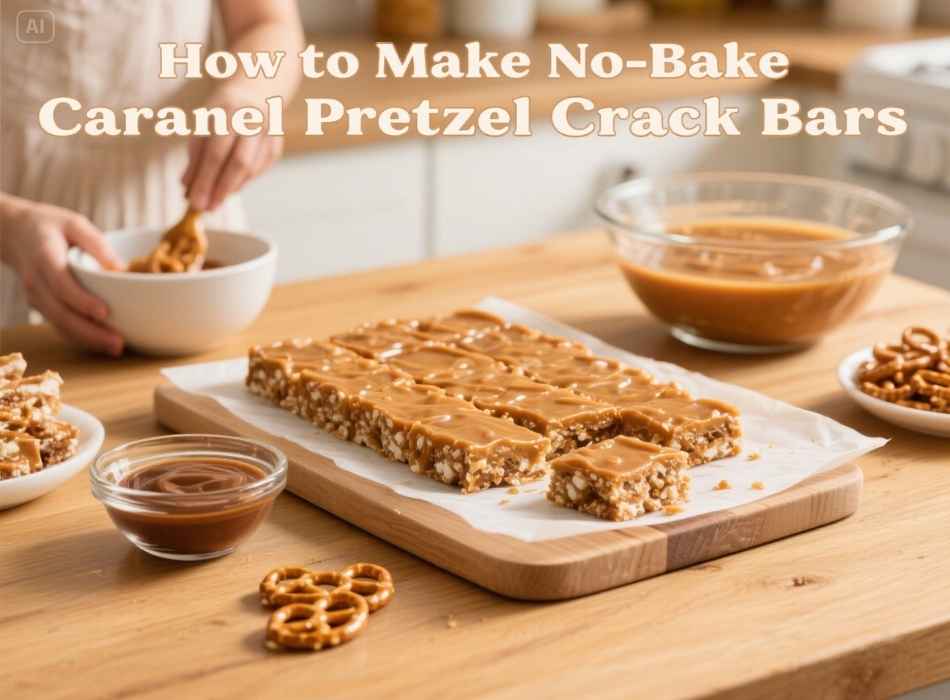
When sweet meets salty, something magical happens. Add a layer of chewy caramel and a touch of crunch, and you’ve got yourself an absolute show-stopper. If you’re looking for a dessert that’s incredibly delicious, easy to make, and doesn’t require turning on your oven, you’re in for a treat. These no-bake caramel pretzel crack bars are everything you never knew you needed in a dessert. Perfect for busy weeknights, gatherings, or when that sweet tooth just won’t quit, these bars deliver unmatched flavor with minimal effort.
This blog will guide you through:
- The simple ingredients you’ll need for these heavenly bars.
- Step-by-step instructions to recreate this sweet-and-salty delight.
- Pro tips to customize and perfect your crack bars for any occasion.
Let’s get cracking, literally!
What Makes These Bars So Special?
Before we start the recipe, let’s consider why these caramel pretzel crack bars are a standout treat.
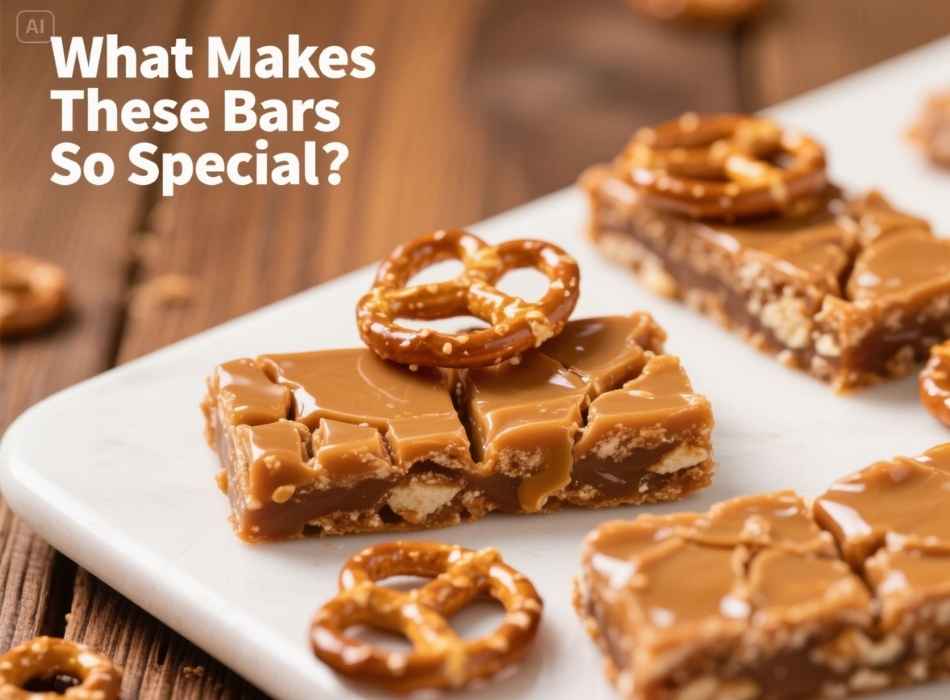
The Sweet and Salty Combo
There’s something indescribable about the blend of sweet caramel and the salty crunch of pretzels. While other desserts may lean heavily into one flavor profile, these bars offer a balanced bite every time. They’re indulgent without being overwhelming.
No-Bake Goodness
Who says great desserts need complicated techniques? No ovens, no mess, and no stress. These bars are entirely no-bake, making them beginner-friendly and perfect for warmer months when your kitchen is the last place you want to spend extra time.
Customizable Treat
Want an extra drizzle of chocolate? Could some sea salt flakes crank up that savory vibe? These bars lend themselves beautifully to customization, so you can make them your own. Plus, they’re an excellent option for those with dietary restrictions since you can easily substitute ingredients to fit your needs.
Versatile and Portable
These bars are portable and versatile, making them perfect for picnics, potlucks, or just as an on-the-go snack. They can be cut into different sizes or shapes to suit your needs and are easy to pack and transport. You can even grab one for a quick breakfast or midday pick-me-up at work.
Family-Friendly Fun
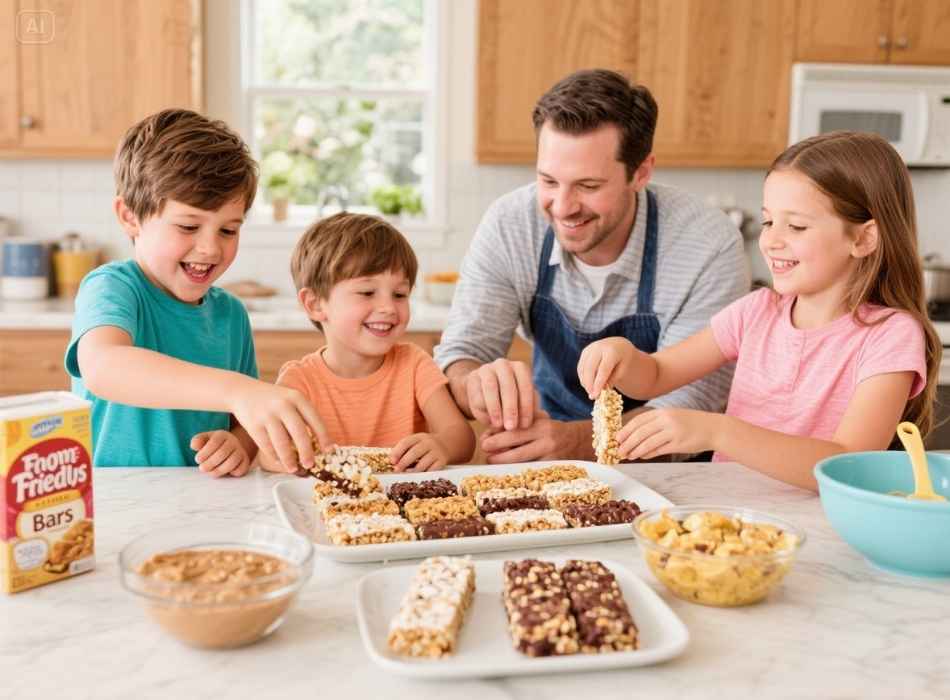
No-bake bars are not only fun to make but also a great activity that the whole family can enjoy together! Kids will love helping out in the kitchen and getting creative with their flavor combinations. It’s a great way to bond and spend quality time together while making something delicious. You can also involve them in packaging the bars for lunches or snack time, teaching them about portion control and healthy eating habits at a young age.
Versatile Ingredients
One of the best things about no-bake bars is that you can make them using a variety of ingredients based on your preferences and dietary restrictions. Whether you’re vegan, gluten-free, or have food allergies, there are endless possibilities for creating delicious and nutritious bars. Some common ingredients used include oats, nuts, dried fruits, chocolate chips, nut butter, honey, and more! You can even switch up the flavors by adding in spices like cinnamon or using different types of nut butter, such as almond or cashew. Get creative and experiment with different ingredient combinations to find your perfect no-bake bar recipe.
Easy to Customize
Not only are no-bake bars versatile in terms of ingredients, but they are also easy to customize based on personal taste preferences. If you have a sweet tooth, you can add more honey or chocolate chips for a sweeter taste. On the other hand, if you prefer less sweetness, reduce the amount of honey or use dark chocolate instead of milk chocolate. You can also add in additional ingredients such as seeds, coconut flakes, or protein powder for added texture and nutrients.
Ingredients You’ll Need
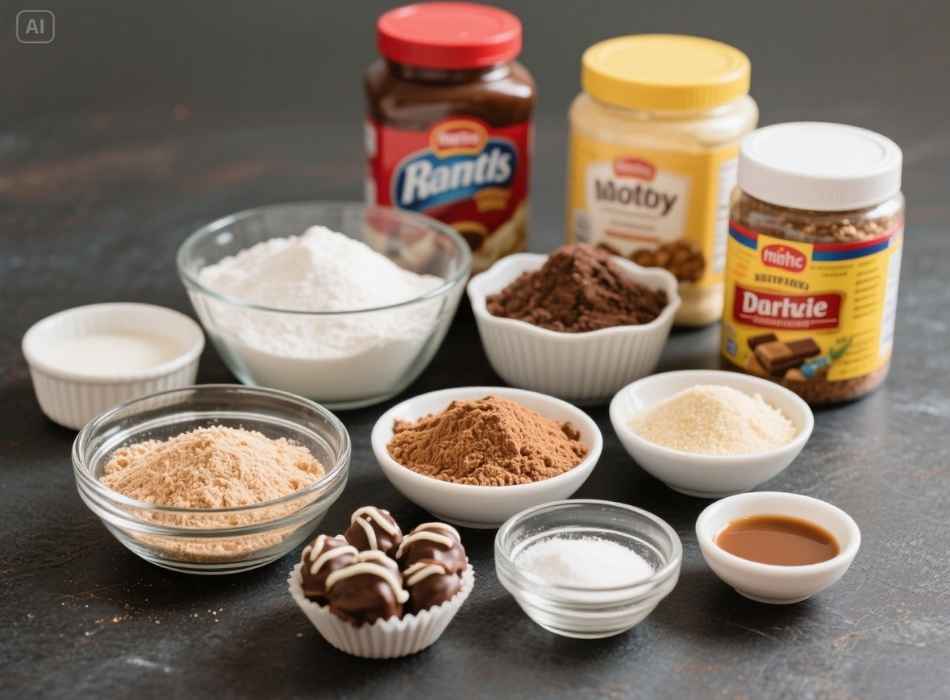
To create these decadent treats, you’ll need just a handful of easily accessible ingredients. Chances are, you already have a few of these in your pantry!
- Pretzels (3 cups): The base of these bars, offering a delightful crunch and necessary salty goodness.
- Caramel Sauce (1 cup): Gooey and sweet, this ingredient ties everything together.
- Butter (1 cup): Melted butter provides richness and helps hold the layers together.
- Sugar (½ cup): Adds to the sweetness and ensures a flavorful caramel mixture.
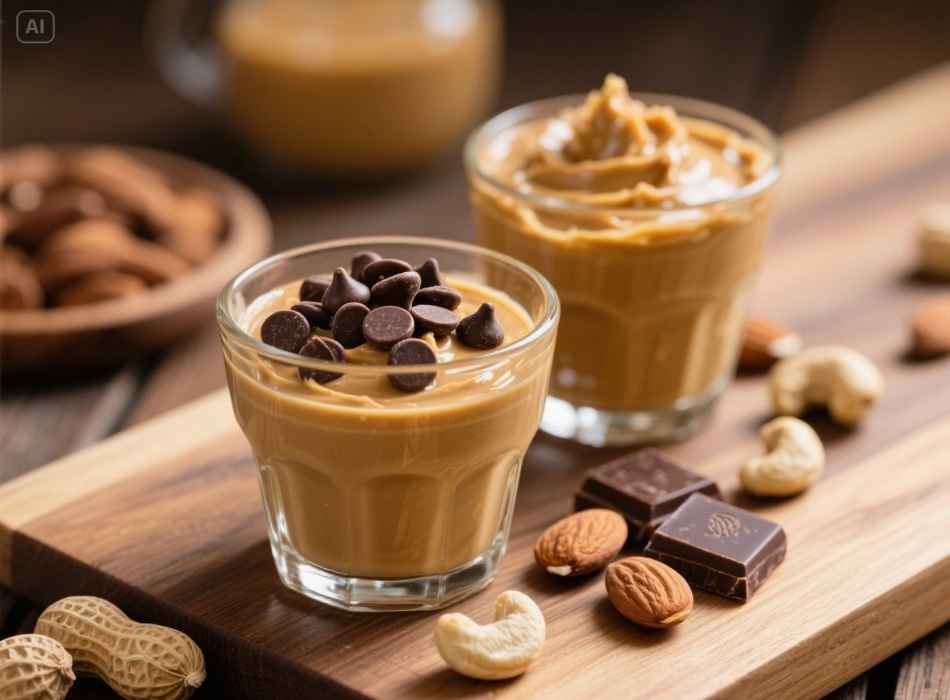
- Peanut Butter (½ cup): For a creamy, nutty layer that pairs beautifully with the caramel and pretzels.
- Milk Chocolate Chips (1 cup): Melted chocolate adds the perfect indulgent finishing touch.
- Sea Salt Flakes (optional): A pinch of sea salt on top elevates the flavor.
How to Make No-Bake Caramel Pretzel Crack Bars
Step 1: Prep Your Ingredients
Before you begin, line a 9×13-inch baking pan with parchment paper or aluminum foil for easy removal later. Lightly grease the lining to prevent sticking.
Step 2: Make the Pretzel Base
Crush the pretzels into small pieces. You can place them in a zippered bag and lightly pound them with a rolling pin. Combine the crushed pretzels with melted butter and sugar in a bowl, mixing until evenly coated. Press the mixture evenly into the prepared pan to form the bottom layer.
Step 3: Add the Caramel Layer
Warm your caramel sauce in a microwave or on the stove until it’s pourable but not too runny. Carefully spread it over the pretzel base, ensuring an even layer. If you’re feeling fancy, sprinkle a few whole pretzels across the layer for added crunch and decor.
Step 4: Create the Peanut Butter Layer
Melt the peanut butter until it has a soft, spreadable consistency. Using a spatula, gently spread a layer of peanut butter over the caramel. This creates a creamy, nutty middle that perfectly contrasts with the crunchy base and gooey top.
Step 5: Pour the Chocolate Topping
Melt the chocolate chips in the microwave in 20-second intervals, stirring until smooth. Pour the melted chocolate evenly over the peanut butter layer, spreading it with a spatula for a glossy finish.
Step 6: Chill and Slice
Place the pan in the refrigerator for at least 2 hours (or until completely set). Once chilled, remove the bars from the pan using the parchment paper and slice them into squares or rectangles. Pro tip: Use a sharp knife and rinse it with warm water between cuts for clean edges.
Step 7: Serve and Enjoy!
Serve the bars immediately, or store them in an airtight container in the refrigerator for up to one week. These delicious and decadent chocolate peanut butter bars are perfect for any occasion and will be sure to impress your friends and family. Customize them by adding toppings such as chopped nuts, dried fruit, or drizzled melted chocolate on top. Enjoy!
Additional Tips:
- For a healthier option, use natural peanut butter without added sugars.
- You can also substitute almond butter or cashew butter for a different twist on the classic combination of chocolate and nut butters.
- Want a more indulgent dessert? Try using milk or white chocolate instead of dark chocolate for the topping.
- If you have a nut allergy, you can still enjoy these bars by using sunflower seed butter or soy nut butter as a substitute.
- For an added crunch, mix in some crushed graham crackers or pretzels into the base layer before adding the peanut butter mixture.
- These bars are also great for lunchboxes or as a quick and easy snack on the go. Just wrap them individually in plastic wrap or store them in an airtight container.
Tips for Perfecting Your Caramel Pretzel Bars
- Double the Recipe: These bars disappear fast. Consider making a double batch if you’re sharing (or want some leftovers for yourself!).
- Add Some Crunch: For an extra crunch, sprinkle chopped nuts or toffee bits on the caramel layer.
- Use Dark Chocolate: Swap out milk chocolate for dark chocolate if you prefer a less sweet, more sophisticated flavor.
- Sprinkle Sea Salt: A pinch of sea salt flakes on top enhances the sweet-and-salty contrast beautifully.
- Gluten-Free Option: Use gluten-free pretzels to make this recipe celiac-friendly without compromising flavor.
- Vegan Option: Use vegan butter and dairy-free chocolate chips for a delicious vegan version of this treat.
- Personalize It: Get creative with your toppings and mix-ins! Crushed cookies, dried fruits, or even bacon bits can add unique flavors to this classic dessert.
- Make It Mini: Instead of making one large sheet of bark, you can use mini pretzels and make individual servings for a fun twist on the original recipe.
Why These Bars Are Perfect for Any Occasion

Whether you’re hosting friends, prepping for a potluck, or indulging in a much-needed treat, these bars are a guaranteed hit. The combination of minimal effort and maximum flavor makes them the ultimate go-to dessert.
Here are just a few times they’ll shine:
- Holiday Parties: Add festive sprinkles for a seasonal touch.
- Weeknight Treats: No time? No problem. These come together in a flash.
- Gifting:Gifting: Wrap them in glossy paper for a homemade gift that everyone will appreciate.
- Picnics or BBQs: Easy to transport and share with a crowd.
- Office Gatherings: Perfect for office potlucks or as a sweet treat for colleagues.
- Midnight Snacks: Who says dessert is only reserved for after dinner? These bars are perfect for satisfying late-night cravings.
- Bake Sales: A unique and delicious option for school or community bake sales.
- Brunches: Serve alongside coffee or mimosas for a tasty addition to any brunch spread.
- Lunchbox Treats: Pack one in your lunch for a sweet pick-me-up during the workday.
- Game Nights/Game Day Parties: These bars are a crowd-pleaser and easy to make for game night or any sports viewing party.
- Picnics: A portable and mess-free dessert option for picnics in the park or at the beach.
- Holiday Parties: With their festive red and green layers, these bars are a perfect addition to any holiday gathering.
- Gifts: Wrap up a batch of these bars as a thoughtful homemade gift for friends, family, or co-workers. They also travel well if sent through mail!
- Movie Nights: Enjoy these bars while snuggled up on the couch watching your favorite movies. – Bringing to Friends’ Houses: Movie Nights: Enjoy these bars while snuggled up on the couch watching your favorite movies.
- Bringing to Friends’ Houses: Show off your baking skills by bringing a batch of these bars to your next potluck or friend gathering.
- Bake Sales: These bars are sure to be a hit at any bake sale, with their attractive layers and delicious flavor.
- Crowd-Pleasing Dessert: Whether you’re hosting a party or attending one, these bars will please all taste buds and leave everyone wanting the recipe.
- Seasonal Twist: Change up the flavors of these bars by using different types of fruit depending on the season. Try strawberries in the spring, blueberries in the summer, apples in the fall, and cranberries in the winter.
- Customizable: Don’t have time to make your crust? No problem! These bars can also be made with store-bought graham cracker crust or a pre-made shortbread crust. Additionally, you can mix and match different types of fruit in the filling to create your unique flavor combination.
- Perfect for Any Occasion: Whether it’s a potluck, picnic, bake sale, or just a craving for something sweet, these fruit crumble bars are perfect for any occasion.
- Make Ahead: These bars can be made ahead of time and stored in an airtight container in the refrigerator for up to 3 days. They also freeze well, making them an excellent option for meal prep or unexpected guests.
Indulge in Sweet Simplicity
No-bake caramel pretzel crack bars prove that dessert doesn’t need to be complicated to be amazing. With their balance of textures, irresistible sweet-and-salty flavor, and endless customization options, they’re the kind of treat you’ll find yourself making time and time again.
Ready to impress your friends (and your taste buds)? Whip up a batch today, and prepare to become everyone’s favorite dessert expert!