Need to add a splash of red to your baking but want to skip the artificial dyes? You’re in luck. Making natural red food coloring at home is surprisingly simple, and you likely already have the ingredients you need in your kitchen.
This guide will walk you through several methods for creating vibrant red food coloring using everyday fruits and vegetables. We’ll cover everything from using beets and pomegranates to cranberries and even dried hibiscus. By the end, you’ll know exactly how to achieve the perfect shade of red for your frosting, cakes, and other culinary creations, all without the synthetic additives.
Why Make Your Own Food Coloring?
Commercial red food dyes, like Red 40 and Red 3, are made from petroleum and have been a topic of health discussions for years. (Why Red Dye 3 Is Banned, 2025) While the FDA considers them safe for consumption, some studies have linked them to hyperactivity in children and other potential health concerns. (Report Links Synthetic Food Dyes to Hyperactivity and Other Neurobehavioral Effects in Children, 2021)
Making your own food coloring allows you to control exactly what goes into your food. Natural ingredients not only provide color but can also add subtle flavors and nutrients. It’s a creative, healthy, and rewarding way to enhance your baking.
Method 1: Using Beets
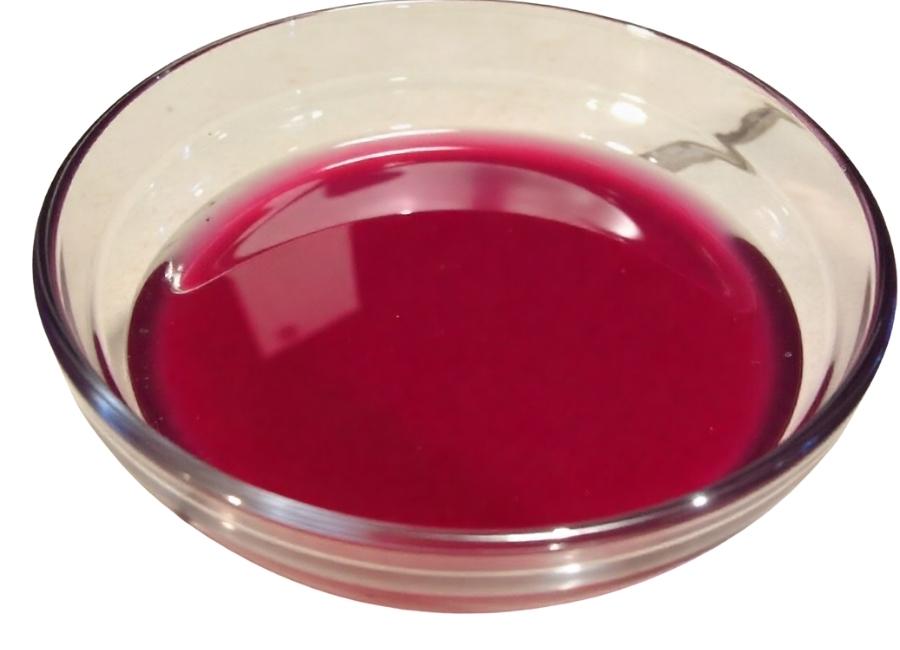
Beets are the undisputed champion of natural red dyes. They produce a deep, vibrant red that can range from pink to a rich crimson depending on the concentration. (Red Food Coloring (Made with Beets), Natural, n.d.)
What You’ll Need:
- 1 medium-sized raw beet
- 2-4 tablespoons of water
Instructions:
- Prepare the Beet: Wash the beet thoroughly and peel off the skin. The skin can add an earthy flavor, so it’s best to remove it. Chop the beet into small, manageable cubes.
- Juice It (Juicer Method): If you have a juicer, this is the quickest method. Simply run the beet chunks through your juicer. The resulting liquid is your food coloring. It will be highly concentrated and vibrant.
- Boil It (Stovetop Method): Place the chopped beets in a small saucepan and add just enough water to cover them (about 2-4 tablespoons). Bring the water to a boil, then reduce the heat and let it simmer for 15-20 minutes, or until the beets are tender and the water is a deep red.
- Strain the Liquid: Once simmered, strain the liquid through a fine-mesh sieve into a clean bowl or jar. Press down on the beet pulp with a spoon to extract as much colored liquid as possible.
- Reduce for Concentration (Optional): For a more intense color, you can return the strained liquid to the saucepan and simmer it on low heat until it has reduced by about half. This will create a more concentrated dye.
- Cool and Store: Let the coloring cool completely before using or storing it.
Best For: Red velvet cakes, frostings, and dyeing Easter eggs.
Flavor Profile: Very subtle, slightly sweet, and earthy flavor that is usually unnoticeable in baked goods.
Method 2: Using Pomegranates
Pomegranates offer a beautiful, jewel-toned red that is slightly less intense than beet coloring but has a wonderful fruity taste. (Red Foods! Colorful Cooking Without Artificial Dyes. (n.d.)
What You’ll Need:
- Seeds (arils) from 1 large pomegranate
- 1 tablespoon of water
Instructions:
- Extract the Juice: Place the pomegranate seeds in a blender with one tablespoon of water. Pulse a few times until the seeds have released their juice. Be careful not to over-blend, as this can break down the hard inner seeds and make the juice cloudy.
- Strain the Mixture: Pour the mixture through a fine-mesh sieve, using a spoon to press the pulp and extract all the juice.
- Simmer to Concentrate: For a deeper color, pour the juice into a small saucepan and simmer on low heat until it reduces slightly. This will intensify the red hue.
- Cool Before Use: Allow the pomegranate coloring to cool completely before adding it to your recipes.
Best For: Frostings, glazes, beverages, and vinaigrettes.
Flavor Profile: Sweet and tangy, which can complement many desserts and drinks.
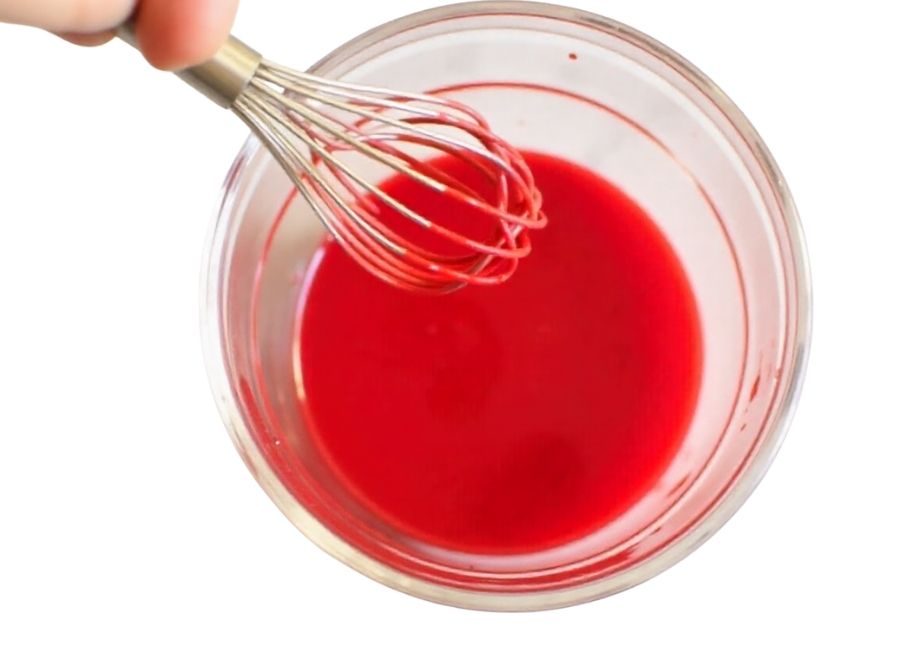
Method 3: Using Cranberries
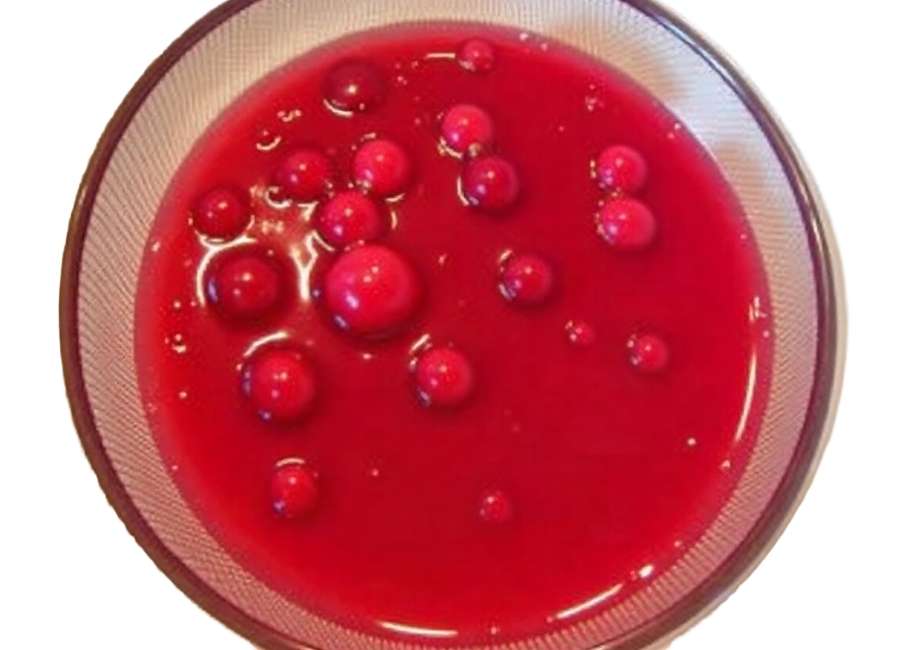
Fresh or frozen cranberries can produce a lovely pinkish-red dye, perfect for lighter-colored frostings or batters. (Volpe & T., 1976)
What You’ll Need:
- 1 cup of fresh or frozen cranberries
- 2 tablespoons of water
Instructions:
- Simmer the Cranberries: Combine the cranberries and water in a small saucepan. Bring to a simmer over medium heat.
- Cook Until They Burst: Continue to cook, stirring occasionally, for about 10-15 minutes. The cranberries will burst and release their juices, creating a thick, sauce-like mixture.
- Strain the Juice: Pour the mixture through a fine-mesh sieve, pressing firmly on the solids to squeeze out all the colorful liquid.
- Cool and Store: Let the cranberry juice cool. It will be a beautiful, bright red liquid ready for use.
Best For: Pink frostings, yogurt, and smoothies.
Flavor Profile: Tart and fruity.
Tips for Using Natural Food Coloring
- Start Small: Natural colorings can be less intense than artificial ones. Start by adding a small amount and gradually increasing it until you achieve your desired shade.
- Consider the Flavor: While often subtle, natural dyes can impart a slight flavor. Choose a source that complements your recipe (e.g., pomegranate for a fruity dessert).
- Heat Sensitivity: Some natural colors can change or fade when exposed to high heat. (Working with Natural Food Colors, n.d.) Be mindful of this when baking. Colors are often most vibrant in no-bake recipes like frostings and glazes.
- Powdered Alternatives: You can also use powdered forms of these ingredients, like beet powder or hibiscus powder. Simply mix the powder with a tiny amount of water to form a paste before adding it to your recipe. This is a great, mess-free option.
Your Next Steps in Natural Baking
Creating your own red food coloring is a simple and satisfying way to bring natural, vibrant color to your kitchen creations. By using ingredients like beets, pomegranates, and cranberries, you can avoid artificial additives while customizing the color and flavor of your favorite recipes. Experiment with these methods to see which one works best for you.
Ready to take your baking to the next level? Explore our other guides on creating a full spectrum of natural food colorings at home.