")
Baking is an art form where colors play a leading role. A pop of pink can transform a simple vanilla cupcake into a festive treat, or add a touch of whimsy to a batch of sugar cookies. While store-bought food coloring is a convenient option, making your own offers a unique satisfaction. Creating your own food coloring gives you complete control over the ingredients, allowing you to avoid artificial additives and cater to specific dietary needs.
This guide will show you how to make natural pink food coloring using common kitchen ingredients. We’ll explore several methods, from vibrant fruit and vegetable purees to potent powders, ensuring you can find a technique that suits your needs. You’ll learn not only how to create beautiful pink hues but also how to store your creations and use them effectively in your favorite recipes. Get ready to add a personal, all-natural touch to your baking.
Why Make Your Own Food Coloring?
Before we get into the “how,” let’s talk about the “why.” While grabbing a small bottle of red dye from the grocery store is easy, there are several compelling reasons to try making your own pink food coloring.
- Avoid Artificial Dyes: Many commercial food colorings contain synthetic dyes like Red 40 and Red 3. (Dunford & Elizabeth, 2025) Some people prefer to avoid these additives due to potential health concerns or allergies. (Red dye No. 3 has been banned, but what about other artificial food dyes?, 2025) Natural food coloring provides a worry-free alternative.
- Control the Ingredients: When you make it yourself, you know exactly what’s going into your food. This is particularly important for anyone with dietary restrictions, sensitivities, or those who simply prefer whole, unprocessed ingredients.
- Customize Your Shades: Homemade food coloring isn’t a one-size-fits-all solution. You have the power to create a spectrum of pinks, from a delicate pastel to a deep, rich magenta, simply by adjusting the concentration of your ingredients.
- It’s a Fun Project: Making food coloring can be a creative and rewarding experience. It’s a great way to experiment in the kitchen and even get kids involved in the cooking process.
Method 1: Using Beets for a Vibrant Pink
Beets are nature’s most powerful food dye. (We’ve got the beets: Food consumers may see red, naturally, 2019) They produce an incredibly vibrant, beautiful pink that works well in a variety of recipes. You can use them in several ways, either by creating a liquid dye from a whole beet or using beet powder for a more concentrated color.
Using a Fresh Beet
This method creates a liquid dye that’s perfect for coloring frostings, batters, and even drinks.
What You’ll Need:
- 1 medium-sized raw beet
- 1/2 cup of water
- A small saucepan
- A fine-mesh sieve or cheesecloth
- A blender or food processor
Instructions:
- Prepare the Beet: Start by washing the beet thoroughly to remove any dirt. Peel it and chop it into small, uniform pieces. The smaller the pieces, the more color you’ll be able to extract.
- Boil the Beet: Place the chopped beet pieces into the small saucepan and add 1/2 cup of water. Bring the water to a boil, then reduce the heat to a simmer. Let it cook for about 15-20 minutes, or until the beet is tender and the water has turned a deep red.
- Blend the Mixture: Carefully transfer the beet and the colored water to a blender or food processor. Blend on high until you have a smooth, liquid puree.
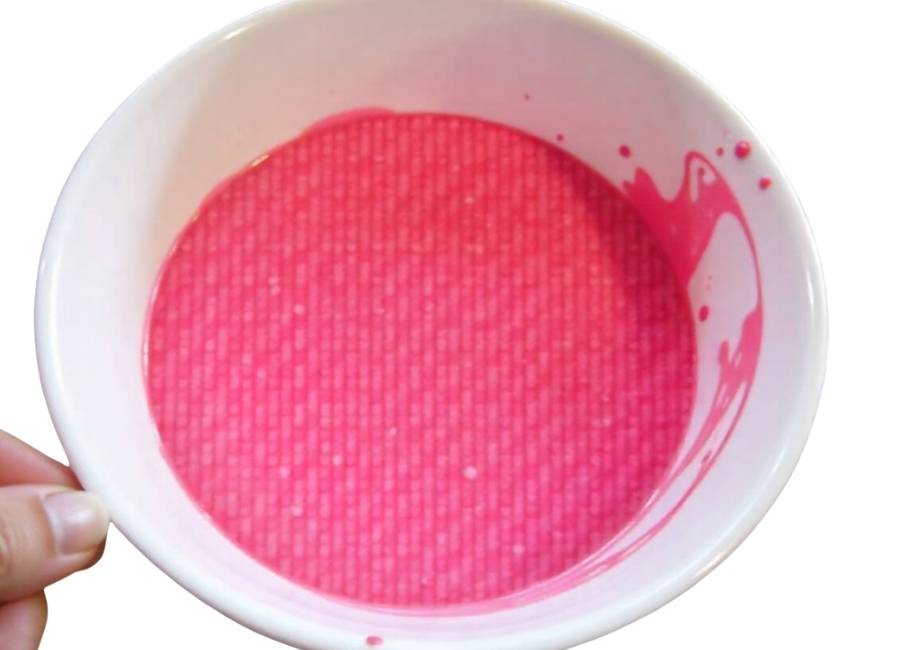
- Strain the Liquid: Pour the puree through a fine-mesh sieve or a piece of cheesecloth placed over a bowl. Press down on the solids with the back of a spoon to extract as much liquid as possible. The liquid you collect is your food coloring. The remaining beet pulp can be added to smoothies or baked goods for extra fiber.
- Reduce for Concentration (Optional): If you want a more intense color, you can pour the strained liquid back into the saucepan and simmer it gently over low heat. Let it reduce by about half. This will create a more concentrated dye.
Using Beet Powder
Beet powder is a convenient alternative to fresh beets. It’s made from dehydrated, ground beets and offers a very concentrated color without adding extra liquid to your recipe. (Buy Beetroot Powder Online | Selefina Spices, n.d.) This makes it ideal for recipes where moisture content is critical, like macarons or meringues.
What You’ll Need:
- Beet powder
- A small amount of water (optional)
Instructions:
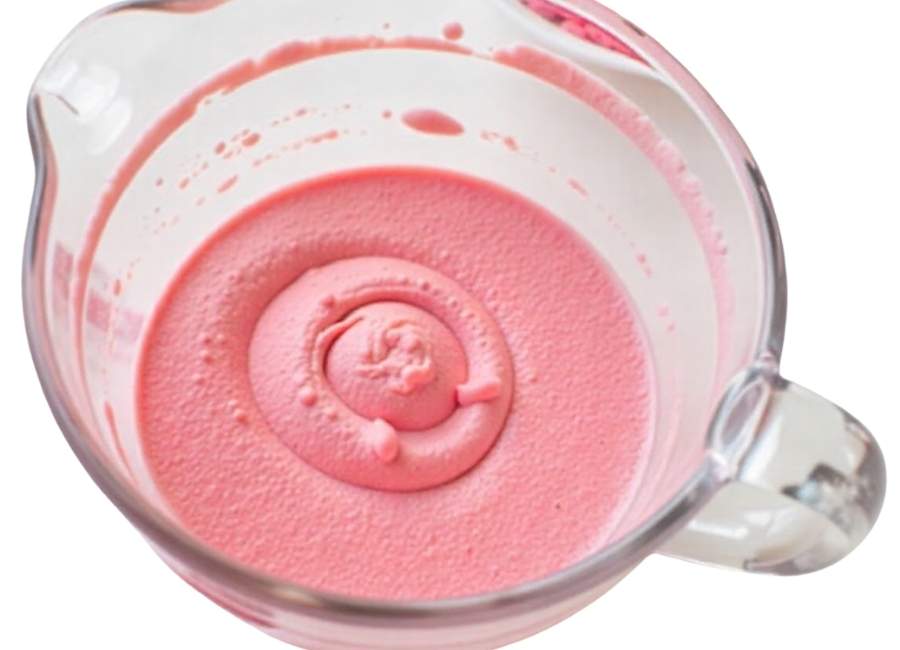
- Direct Addition: For recipes like frosting or smoothies, you can add the beet powder directly. Start with a small amount, like 1/4 teaspoon, and gradually add more until you reach your desired shade of pink.
- Create a Paste: For better distribution in batters, you can create a paste first. Mix 1 teaspoon of beet powder with a few drops of water until it forms a smooth, thick paste. Add this paste to your recipe.
Note on Flavor: Beets have an earthy flavor. In small amounts, this is usually unnoticeable, especially in sweet recipes like chocolate cake. However, if you use a large quantity, you might detect a slight beet taste.
Method 2: Using Berries for a Fruity Pink
Berries like raspberries, strawberries, and cranberries are another excellent source of natural pink food coloring. (How to Make Pink Food Coloring, n.d.) They not only provide beautiful color but also add a subtle, pleasant fruity flavor to your creations.
Using Fresh or Frozen Berries
This method is similar to the beet method and works well for frostings and cake batters.
What You’ll Need:
- 1 cup of raspberries or strawberries (fresh or frozen)
- 1-2 tablespoons of water
- A small saucepan
- A fine-mesh sieve
Instructions:
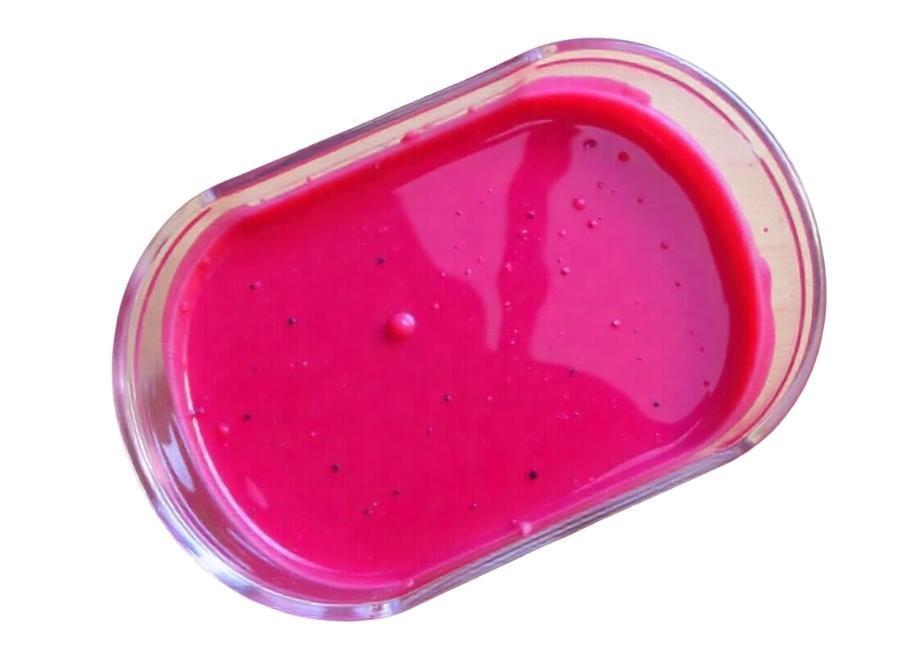
- Cook the Berries: Place the berries and water in a small saucepan. Heat over medium heat, stirring and mashing the berries with a spoon as they soften. Let the mixture simmer for about 5-10 minutes until the berries have completely broken down.
- Strain the Puree: Pour the berry mixture through a fine-mesh sieve set over a bowl. Use a spoon to press the pulp and extract all the juice. Discard the seeds and solids left in the sieve.
- Cool and Use: Let the berry juice cool completely before adding it to your recipe. Like with the beet juice, you can reduce this liquid on the stovetop for a more concentrated color.
Using Freeze-Dried Berries
Freeze-dried strawberries or raspberries are fantastic for creating a powdered food coloring. They are intensely flavorful and colorful, and they won’t add any extra moisture to your recipe. (Raspberry Freeze Dried Fruit Powder, n.d.)
What You’ll Need:
- 1/2 cup of freeze-dried raspberries or strawberries
- A blender or spice grinder
Instructions:
- Grind the Berries: Place the freeze-dried berries into a clean, dry blender or spice grinder.
- Blend to a Powder: Pulse until the berries have turned into a fine powder. You may need to sift the powder to remove any larger pieces or seeds.
- Add to Your Recipe: Use this powder just as you would use beet powder, adding it directly to your recipe until you achieve the desired pink color.
How to Store Your Homemade Food Coloring
Proper storage is key to making your natural food coloring last.
- Liquid Dyes: Store your homemade liquid food coloring (from beets or berries) in an airtight container, like a small glass jar, in the refrigerator. It will typically last for up to two weeks. (The Art and Science of Homemade Food Dye: A Comprehensive Guide, n.d.)
- Powdered Dyes: Keep your homemade powders (from beet powder or freeze-dried berries) in an airtight container in a cool, dark, and dry place, like your pantry. They can last for several months. (DIY Beet Powder & Capsules, 2025)
Achieve the Perfect Pink
Making natural pink food coloring at home is a simple and satisfying process that puts you in charge of your ingredients. Whether you choose the earthy vibrancy of beets or the sweet, fruity notes of berries, you can create beautiful shades of pink without any artificial additives. Experiment with these methods to find what works best for your baking adventures.
By taking a little extra time to prepare your own coloring, you not only enhance your food’s visual appeal but also add a wholesome, personal touch that store-bought products can’t replicate.