")
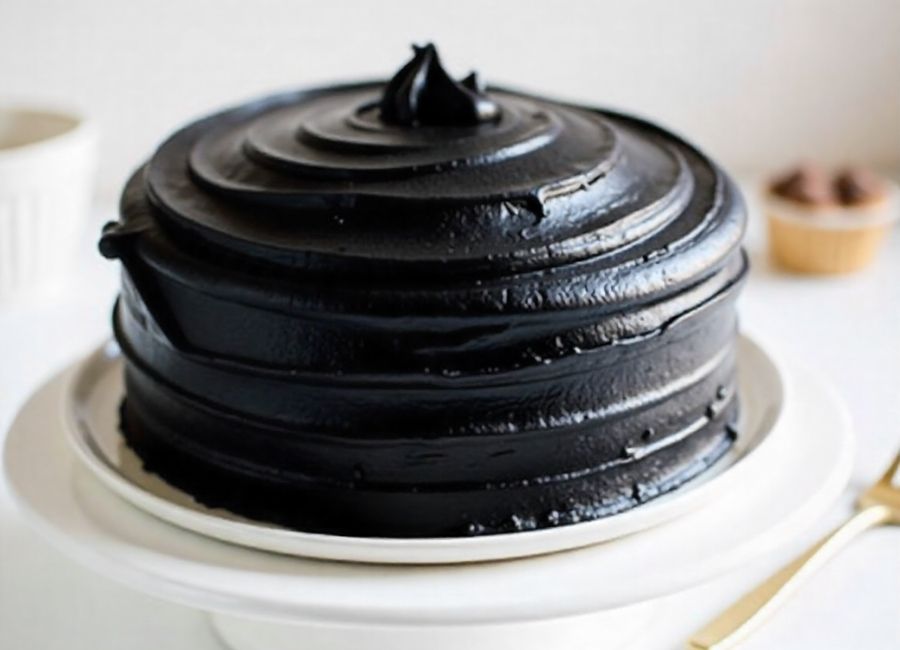
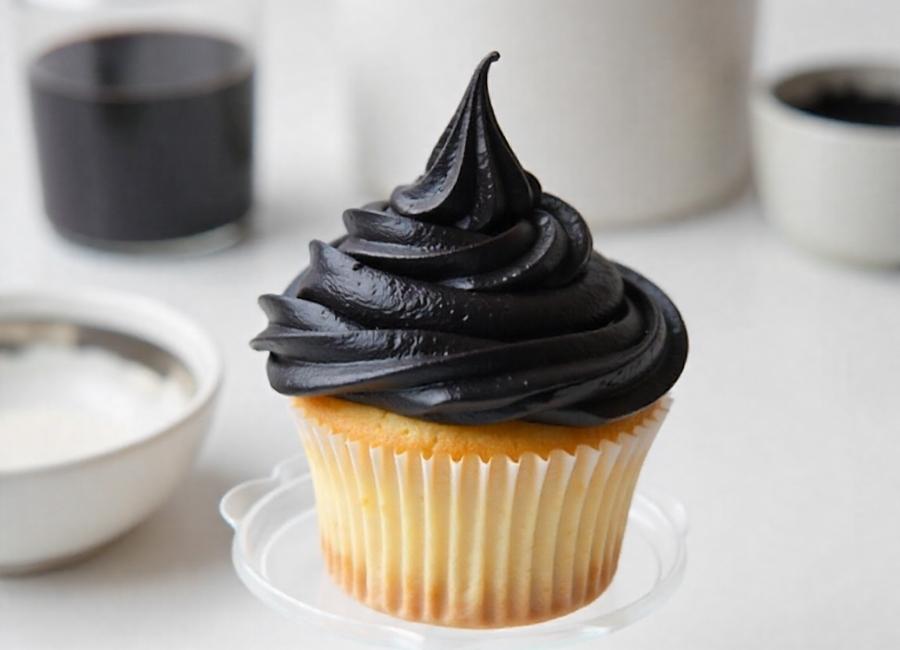
Black icing can add a dramatic, elegant touch to cakes, cookies, and cupcakes. Whether you’re decorating a spooky Halloween treat, a sophisticated tuxedo cake, or a space-themed birthday masterpiece, getting that deep, true black color can be a challenge. Often, what starts as an attempt at black icing ends up as a disappointing shade of gray or a strange, murky green.
Fortunately, achieving a rich, jet-black frosting isn’t as difficult as it seems. It just requires a bit of patience, the right ingredients, and a few simple techniques. Forget about emptying an entire bottle of black food coloring into your buttercream only to get a washed-out result. This guide will walk you through the most effective methods to create a beautiful, professional-looking black icing every time.
You’ll learn how to start with a dark base, which food colorings work best, and the one magic ingredient you might be missing: time. By following these steps, you’ll be able to confidently whip up a batch of stunning black icing for your next baking project.
Start with a Dark Icing Base
The secret to a deep black icing is to avoid starting with white frosting. Trying to turn a pure white buttercream or royal icing into black requires an enormous amount of food coloring. (Wilton, 2021) This not only wastes coloring but can also affect the taste and consistency of your icing, often leaving a bitter aftertaste and a texture that’s too thin. (How To Make Black Icing with Gel Food Coloring?, n.d.)
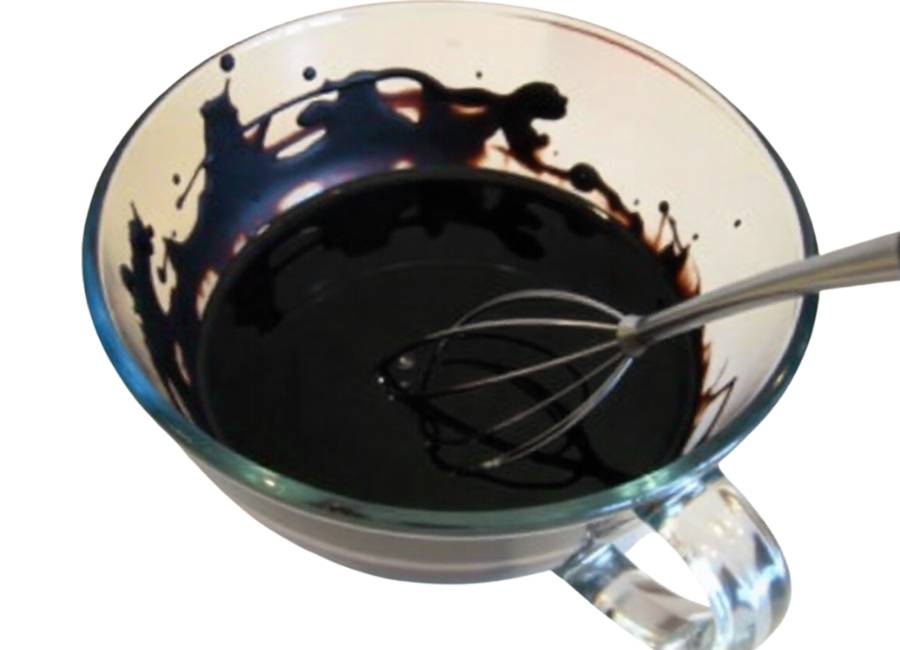
Instead, begin with a dark-colored base. Chocolate is the perfect foundation. A rich chocolate buttercream or ganache already has the deep brown tones that will help you achieve a true black with much less coloring. (How to Make Black Frosting, n.d.)
How to Make Chocolate Buttercream
If you don’t have a go-to recipe, here’s a simple chocolate buttercream to get you started:
Ingredients:
- 1 cup (226g) unsalted butter, softened
- 3/4 cup (75g) unsweetened cocoa powder, sifted
- 4 cups (480g) powdered sugar, sifted
- 1/4 cup (60ml) milk or heavy cream
- 1 teaspoon vanilla extract
- A pinch of salt
Instructions:
- In a large bowl, beat the softened butter with an electric mixer until it’s light and fluffy.
- Add the sifted cocoa powder and mix on low speed until just combined.
- Gradually add the powdered sugar, one cup at a time, mixing on low speed. Once all the sugar is incorporated, scrape down the sides of the bowl.
- Add the milk, vanilla extract, and salt. Increase the mixer speed to medium-high and beat for another 3-5 minutes until the buttercream is smooth and creamy.
This dark chocolate base is the ideal starting point for creating black icing.
Choose the Right Food Coloring
Not all food colorings are created equal, especially when it comes to making black. For the best results, you’ll want to use a high-quality gel food coloring.
- Gel Coloring: Gel-based colors are much more concentrated than liquid food coloring. This means you need less product to achieve a vibrant color, which helps maintain the consistency of your icing. (Spina & Matthew, 2023) Brands like Americolor (Super Black) and Wilton (Black Icing Color) are excellent choices. (How to Make Black Frosting, 2021)
- Black Cocoa Powder: For an even deeper, more natural black, consider using black cocoa powder instead of regular cocoa powder in your buttercream recipe. Black cocoa has a very low fat content and an intense, dark color, similar to what’s used in Oreo cookies. It will give your icing a rich, dark hue from the start. Just be aware that it has a stronger, more distinct flavor than traditional cocoa.
The Step-by-Step Method for Black Icing
Once you have your dark chocolate buttercream and your gel food coloring, you’re ready to create that perfect black.
Add the Gel Coloring
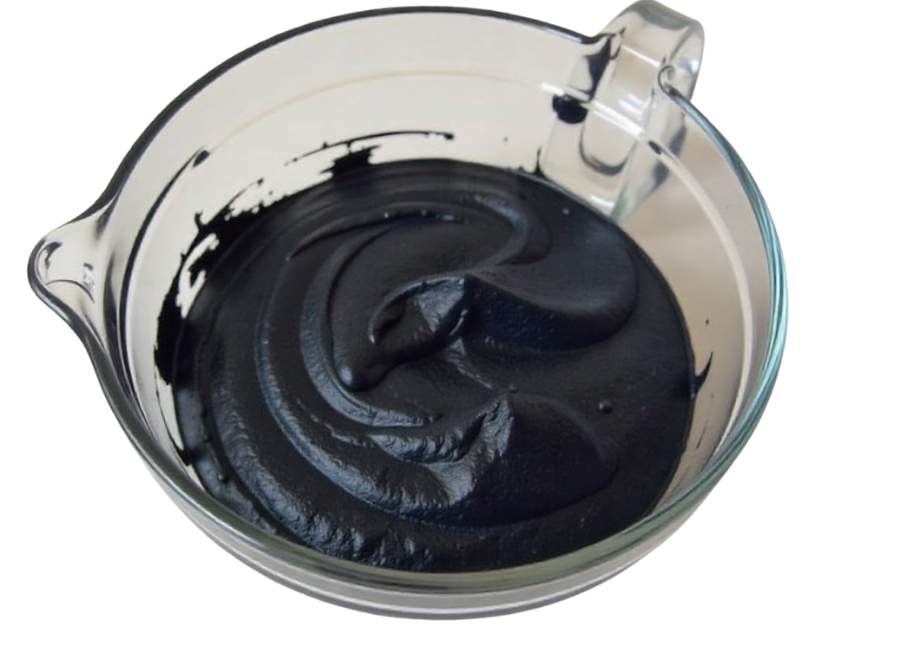
Add a generous amount of black gel food coloring to your chocolate buttercream. Don’t be shy, but also don’t use the whole bottle at once. Start with a few hearty squirts and mix it in thoroughly. At this stage, your icing will likely look like a dark gray or a deep, muddy brown. Don’t panic—this is completely normal.
Let the Color Develop
This is the most important step, and the one most people skip. Time is your best friend. After you’ve mixed in the food coloring, cover the bowl and let the icing sit. The color will darken and deepen significantly as it rests.
For best results, let the icing sit for at least a few hours. If you can, let it rest overnight in the refrigerator. The oxidation process works wonders, transforming that initial gray into a rich, deep black. (Surface Finishes Black Oxide, n.d.) If you’re short on time, even 30-60 minutes at room temperature will make a noticeable difference.
Check and Adjust
After the icing has had time to rest, give it a good stir and check the color. Has it reached the shade of black you want? If it’s still looking a bit gray, you can add a little more black gel coloring. Mix it in and, if possible, let it rest again.
Another pro tip is to add a small amount of another dark color, like dark blue or purple, to counteract any gray or green tones. A tiny drop of violet or navy blue gel coloring can neutralize the undertones and push the color toward a true black. (How to Make Chocolate Frosting Black?, 2023) Add it sparingly, as a little goes a long way.
Troubleshooting Common Issues
Even with the best methods, you might run into a few hurdles. Here’s how to handle them.
- My icing tastes bitter: This is usually a sign of using too much liquid or low-quality food coloring. Using a gel-based color and starting with a chocolate base should prevent this. If your icing already tastes bitter, you can try adding a bit more powdered sugar or a splash of vanilla extract to balance it out.
- My icing is too thin: Adding too much liquid food coloring can ruin the texture of your frosting. Stick to gels. If your buttercream is already too runny, you can thicken it by gradually adding more sifted powdered sugar until it reaches the desired consistency.
- My icing is staining mouths and hands: Highly pigmented icing, especially black and red, can sometimes cause temporary staining. (Black Buttercream Recipe, n.d.) To minimize this, apply the black icing as a thinner outer layer over a layer of uncolored or lightly colored frosting. When serving, you can also gently scrape off most of the black icing before eating.
Your Path to Flawless Black Icing
Creating a deep, true black icing doesn’t have to be a frustrating experience. By starting with a chocolate base, using a quality gel food coloring, and giving the color plenty of time to develop, you’ll be able to achieve professional results. Your spooky ghosts, elegant cakes, and starry night cupcakes will look more striking than ever.
So next time a recipe calls for black icing, don’t reach for that bottle of white frosting and hope for the best. Follow these steps, and you’ll master the art of making the perfect black icing.