Ruth’s Chris Steak House has built a reputation on perfectly grilled steaks, but its mac and cheese deserves equal recognition. This isn’t your average boxed dinner—it’s a rich, indulgent side dish that transforms simple ingredients into something extraordinary. The secret lies in their three-cheese blend and careful attention to texture, creating a dish that’s both creamy and satisfying.
Making this restaurant favorite at home might seem intimidating, but with the proper technique and ingredients, you can recreate that signature taste in your kitchen. This copycat recipe breaks down every step, from selecting the perfect cheese combination to achieving that coveted golden-brown top.
Whether you’re planning a special dinner or simply craving comfort food that rivals your favorite steakhouse, this recipe delivers restaurant-quality results without the hefty price tag.
What Makes Ruth’s Chris Mac and Cheese Special

The magic behind Ruth’s Chris mac and cheese starts with their cheese selection. Unlike many recipes that rely on a single cheese type, this dish combines three distinct varieties: sharp cheddar for depth, Gruyère for nuttiness, and cream cheese for ultimate smoothness.
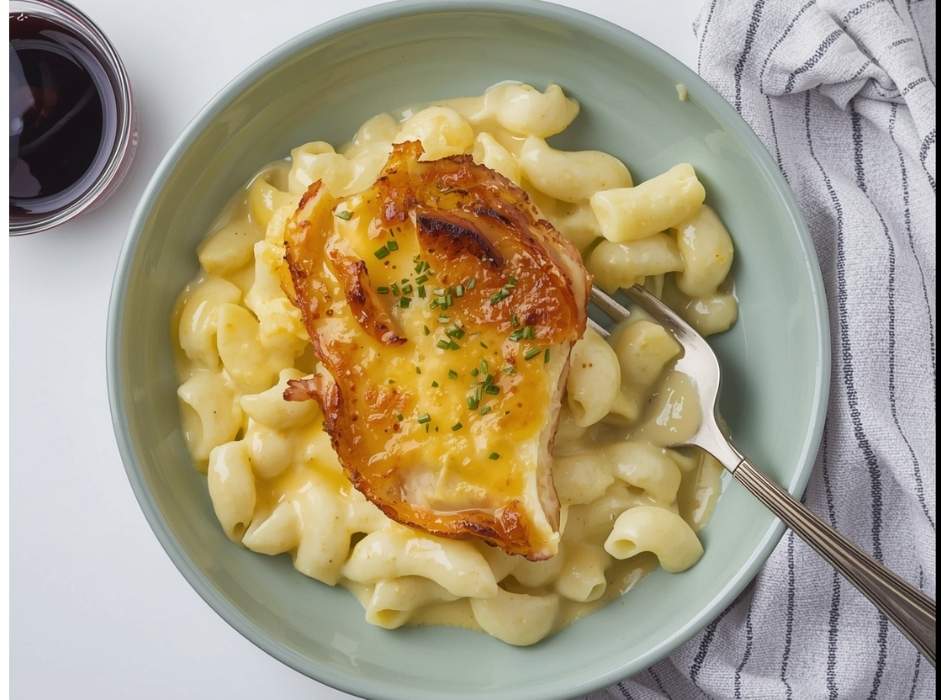
The pasta choice matters too. Ruth’s Chris uses cavatappi, a corkscrew-shaped pasta that holds onto the cheese sauce beautifully. If you can’t find cavatappi, penne or shells work as excellent substitutes—just avoid thin pasta like angel hair that won’t support the rich sauce.
Temperature control during cooking separates amateur attempts from restaurant-quality results. The cheese sauce requires gentle heat to prevent separation, while the final baking step creates that perfect contrast between the creamy interior and crispy, golden surface.
Essential Ingredients for Success

The Cheese Trio
Sharp Cheddar: Provides the classic mac and cheese flavor with a tangy bite that cuts through the richness. Look for aged cheddar that’s been aged at least 12 months.
Gruyère: This Swiss cheese adds complexity with its nutty, slightly sweet flavor. It melts exceptionally well and creates that signature creamy texture.
Cream Cheese: The secret weapon that ensures your sauce stays silky smooth. Room temperature cream cheese incorporates easily and prevents graininess.
Supporting Cast
Heavy cream forms the base of the sauce, while whole milk adds the right consistency without making it too thick. Butter provides richness and helps create the roux that thickens everything together.
For seasoning, you’ll need salt, white pepper (which won’t create black specks), and a pinch of nutmeg that enhances the cheese flavors without overpowering them.
Panko breadcrumbs mixed with a little melted butter create that coveted crispy topping that adds textural contrast to each bite.
Step-by-Step Cooking Instructions

Preparing the Pasta
Start by bringing a large pot of salted water to a rolling boil. The water should taste like mild seawater—this seasons the pasta from the inside out. Add your cavatappi and cook until just shy of al dente, about 1-2 minutes less than the package directions suggest.
The pasta will continue cooking in the oven, so undercooking at this stage prevents mushy results. Drain thoroughly but don’t rinse—you want that starchy surface to help the cheese sauce adhere.
Creating the Cheese Sauce
In a heavy-bottomed saucepan, melt four tablespoons of butter over medium heat. Whisk in 3 tablespoons of all-purpose flour, cooking for about 2 minutes to eliminate the raw flour taste. This roux will thicken your sauce.
Gradually whisk in 2 cups of heavy cream and 1 cup of whole milk, adding slowly to prevent lumps. Continue whisking until the mixture thickens enough to coat the back of a spoon, about 5-7 minutes.
Remove from heat and add the cream cheese first, whisking until completely smooth. Then gradually add the grated cheeses, stirring constantly. The residual heat will melt them perfectly without risking separation.
Season with salt, white pepper, and just a pinch of nutmeg. Taste and adjust—the sauce should be well-seasoned since it needs to flavor all that pasta.
Assembly and Baking
Preheat your oven to 375°F. Butter a 9×13-inch baking dish or individual ramekins if you prefer single servings.
Combine the drained pasta with the cheese sauce, stirring gently to coat every piece. Transfer to your prepared baking dish, spreading evenly.
For the topping, mix 1 cup of panko breadcrumbs with two tablespoons of melted butter. Sprinkle this mixture over the mac and cheese, then add a final layer of grated cheese for extra indulgence.
Bake for 25-30 minutes until the top is golden brown and the edges are bubbling. Let it rest for 5 minutes before serving—this allows the sauce to set up slightly.
Pro Tips for Perfect Results

Grate Your Cheese: Pre-shredded cheese contains anti-caking agents that can prevent smooth melting. Freshly grated cheese creates a silkier sauce.
Room Temperature Ingredients: Let your cream cheese and eggs (if using) come to room temperature before cooking. Cold ingredients can cause the sauce to seize up.
Don’t Overmix: Once you add the pasta to the cheese sauce, stir gently. Aggressive mixing can break the pasta and create a mushy texture.
Make-Ahead Friendly: You can assemble this dish up to a day ahead. Cover and refrigerate, then add 10-15 minutes to the baking time.
Variations and Customizations

Protein Additions
Transform this side dish into a main course by adding cooked lobster meat, crispy bacon, or pulled pork. Fold these additions in just before baking to prevent overcooking.
Vegetable Mix-Ins
Roasted broccoli, caramelized onions, or sautéed mushrooms add nutrition and flavor variety. Make sure vegetables are well-drained to prevent watery results.
Different Cheese Combinations
While the classic trio works beautifully, you can experiment with fontina, smoked gouda, or aged white cheddar for different flavor profiles. Keep the proportions similar for best results.
Troubleshooting Common Issues

Grainy Sauce: Usually caused by overheating or adding cold cheese too quickly. Keep the heat low and add cheese gradually off the heat.
Too Thick: Thin with warm milk or cream, adding a tablespoon at a time until you reach the desired consistency.
Too Thin: Make a small additional roux with butter and flour, then whisk it into the sauce.
Separated Sauce: Remove from heat immediately and whisk vigorously. Sometimes adding a splash of cold cream helps bring it back together.
Serving Suggestions

Ruth’s Chris mac and cheese pairs beautifully with grilled steaks, roasted chicken, or barbecued ribs. The richness complements smoky, savory proteins perfectly.
For a complete steakhouse experience at home, serve alongside roasted asparagus, a crisp Caesar salad, and warm dinner rolls.
If serving as a main dish, a simple green salad with vinaigrette cuts through the richness and provides a refreshing contrast.
Bringing Restaurant Quality Home
Creating Ruth’s Chris-quality mac and cheese requires attention to detail, but the techniques are straightforward. The key lies in using quality ingredients, controlling your heat, and taking time with each step.
This recipe serves 8-10 as a side dish or 4-6 as a main course. The flavors improve after a day in the refrigerator, making it perfect for meal prep or entertaining.
Start with room temperature ingredients, keep your heat moderate, and don’t rush the cheese sauce. With these fundamentals in place, you’ll create a dish that rivals anything you’d find in a high-end steakhouse.