")

New Orleans French bread holds a special place in Creole cuisine, serving as the foundation for iconic po’ boys and the perfect companion to gumbo. Unlike traditional French baguettes, this regional variation features a softer crust and airier interior that’s ideally suited to the humid Louisiana climate.
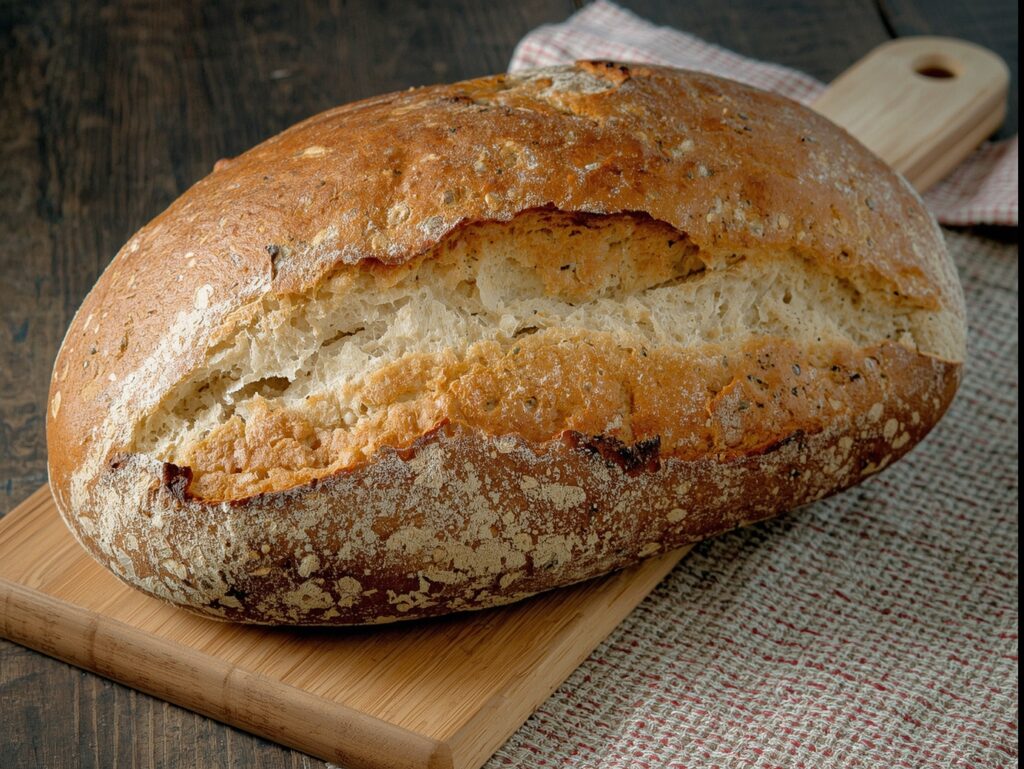
This distinctive bread emerged from the city’s rich cultural melting pot, where French baking techniques merged with local ingredients and environmental conditions. The result is a loaf that’s crispy on the outside yet tender within—perfect for soaking up the bold flavors of New Orleans cooking.
Learning to bake this bread at home connects you to generations of New Orleans bakers while filling your kitchen with the irresistible aroma of fresh-baked perfection. Whether you’re planning a traditional Louisiana feast or simply want to experience this regional specialty, mastering New Orleans French bread opens up a world of culinary possibilities.
What Makes New Orleans French Bread Special
New Orleans French bread differs significantly from its European counterpart in both texture and preparation. Traditional French baguettes rely on a hard, crusty exterior that can withstand dry climates. However, the humid conditions of Louisiana would quickly soften such a crust, making it impractical for local use.
Local bakers adapted their techniques to create bread with a thinner, more delicate crust that maintains its integrity in high humidity. The interior crumb is notably softer and more porous than standard French bread, making it ideal for absorbing the rich sauces and gravies that define New Orleans cuisine.
The bread’s unique characteristics also come from slight variations in hydration levels and fermentation times. These adjustments create the perfect vessel for po’ boy sandwiches, where the bread needs to hold substantial fillings without becoming soggy or falling apart.
Essential Ingredients for New Orleans French Bread
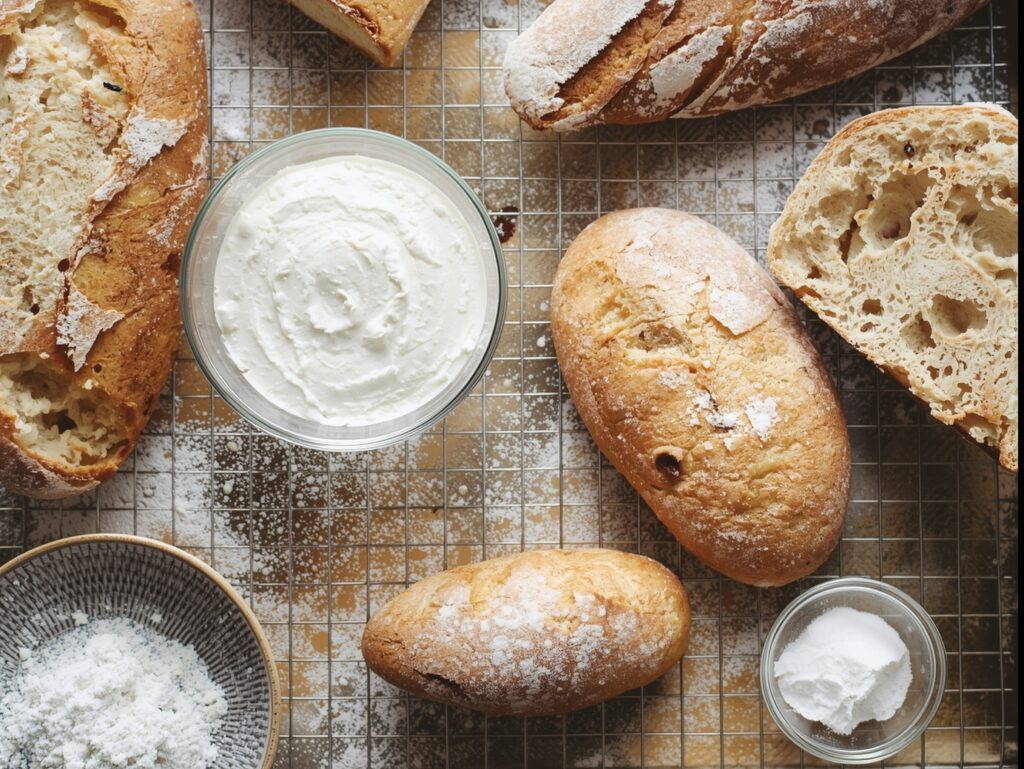
The beauty of this recipe lies in its simplicity. You’ll need just a handful of basic ingredients that most home bakers already have in their pantry.
Bread flour forms the foundation of your loaf. It’s higher protein content creates the gluten structure necessary for the bread’s characteristic texture. While all-purpose flour can work in a pinch, bread flour delivers superior results.
Active dry yeast provides the leavening power. Make sure your yeast is fresh and properly activated—old or inactive yeast will prevent your bread from rising properly.
Salt enhances flavor and strengthens the gluten network. Use acceptable sea salt or table salt, avoiding coarse varieties that may not dissolve evenly.
Sugar feeds the yeast and contributes to the golden crust color. A small amount is sufficient to activate the fermentation process.
Warm water hydrates the flour and activates the yeast. The temperature should feel slightly warm to the touch—around 105°F to 110°F.
Step-by-Step New Orleans French Bread Recipe
Preparing the Dough
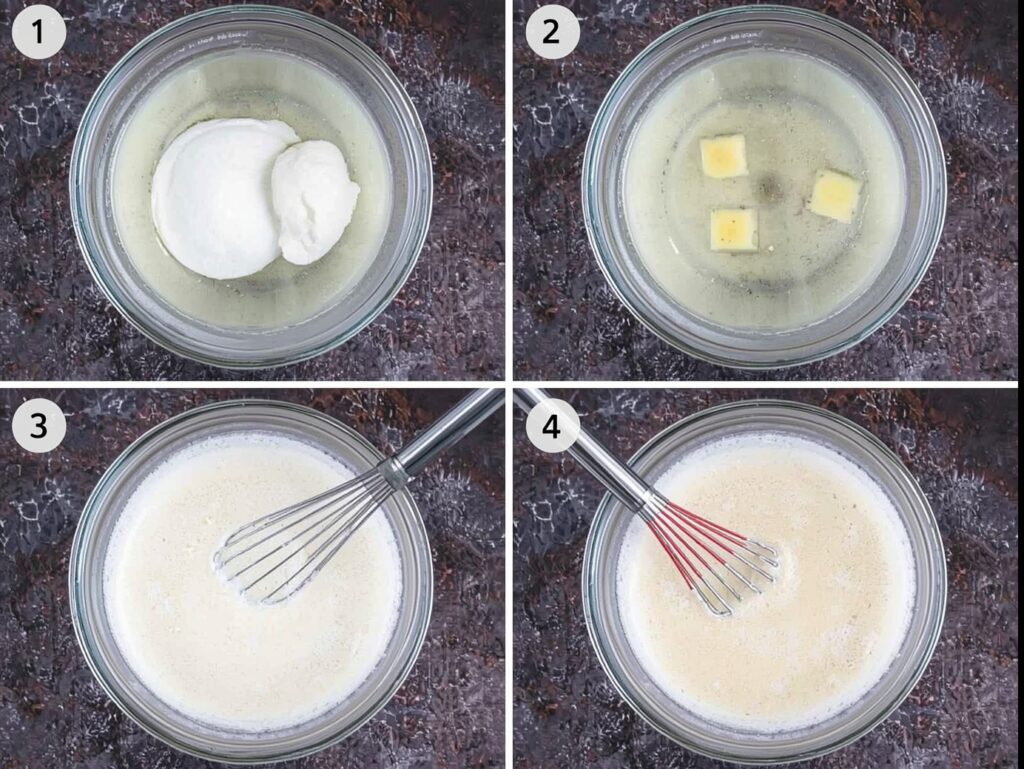
Start by dissolving one packet (2¼ teaspoons) of active dry yeast and one teaspoon of sugar in 1¼ cups of warm water. Allow this mixture to sit for 5-10 minutes until it becomes foamy, confirming that your yeast is active and ready to work.
In a large mixing bowl, combine 4 cups of bread flour with two teaspoons of salt. Create a well in the center and pour in the activated yeast mixture. Using a wooden spoon or your hands, gradually incorporate the flour into the liquid until a shaggy dough forms.
Turn the dough onto a lightly floured surface and knead for 8-10 minutes until it becomes smooth and elastic. The dough should spring back when gently poked with your finger. If it feels too sticky, add small amounts of flour as needed.
First Rise and Shaping
Place the kneaded dough in a lightly oiled bowl, turning it to coat all surfaces. Cover with a damp kitchen towel or plastic wrap and let it rise in a warm, draft-free location for about 1 hour, or until doubled in size.
Once risen, gently punch down the dough to release excess air. Turn it onto a lightly floured surface and divide it in half for two smaller loaves, or keep it whole for one large loaf.
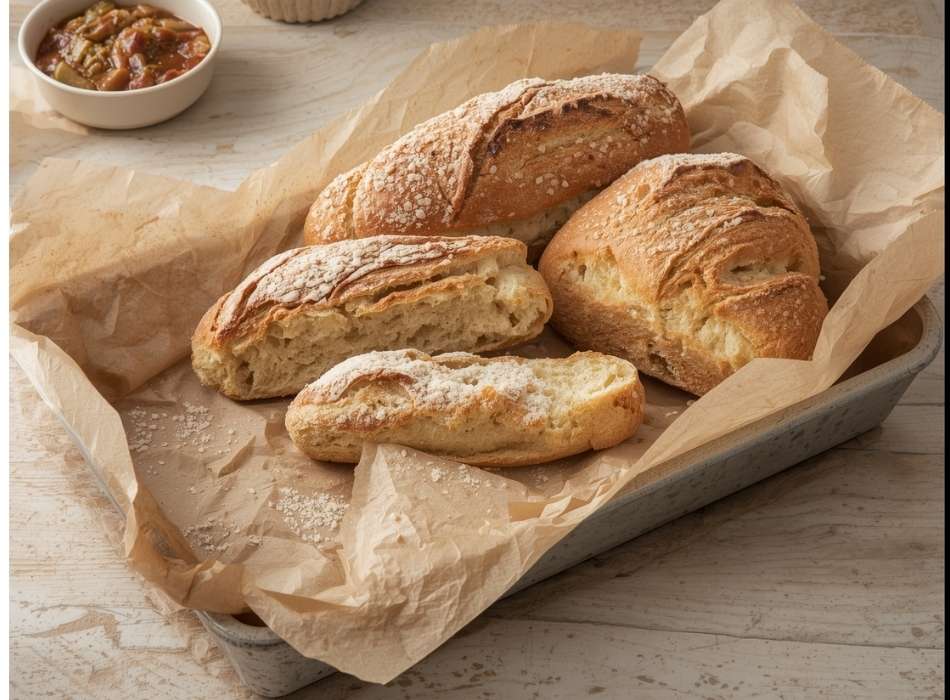
Shape each portion into an oblong loaf by gently stretching and rolling the dough. The finished loaves should be approximately 12-14 inches long with tapered ends, similar to a baguette but slightly thicker.
Final Rise and Preparation
Place the shaped loaves on a parchment-lined baking sheet, leaving several inches between them if making two loaves. Cover with a damp towel and allow them to rise for an additional 30-45 minutes until noticeably puffed.
During the last 15 minutes of rising, preheat your oven to 425°F. Place a shallow pan on the bottom rack—this will create steam for a better crust.
Just before baking, use a sharp knife or razor blade to make 3-4 diagonal slashes across the top of each loaf. These cuts allow the bread to expand properly during baking and create the characteristic appearance.
Baking and Cooling Your French Bread
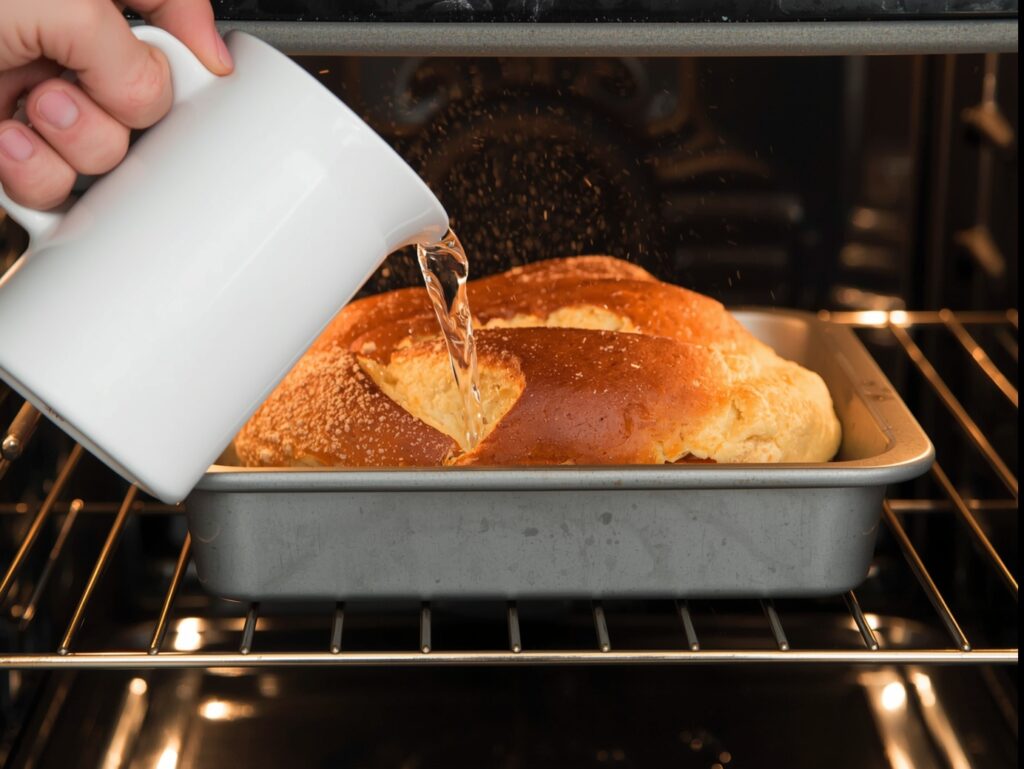
When ready to bake, carefully pour about one cup of hot water into the pan on the bottom oven rack. This creates immediate steam that helps develop the crust. Quickly place your bread on the middle rack and close the oven door.
Bake for 25-30 minutes until the loaves are golden brown and sound hollow when tapped on the bottom. The internal temperature should reach 200°F when measured with an instant-read thermometer.
Remove the finished bread from the oven and transfer to a wire cooling rack. Resist the temptation to cut into the loaves immediately—allowing them to cool for at least 30 minutes helps the interior crumb set properly and prevents a gummy texture.
Tips for Perfect Results Every Time
Temperature control plays a crucial role in successful bread making. Use a thermometer to ensure your water temperature is correct when activating the yeast—too hot will kill the yeast, while too cold will prevent proper activation.
Please pay attention to humidity levels in your kitchen, as they can affect rising times. On particularly humid days, your bread may increase faster than expected. Conversely, dry conditions may require more extended rising periods.
The steam created during the first few minutes of baking is essential for proper crust development. Besides using a water pan, you can spray the oven walls with water just after loading the bread, being careful to avoid the heating elements.
For extra flavor development, consider using the overnight method. After the first rise, punch down the dough, cover tightly, and refrigerate overnight. The slow fermentation enhances the bread’s flavor and makes it easier to work with.
Serving and Storage Suggestions
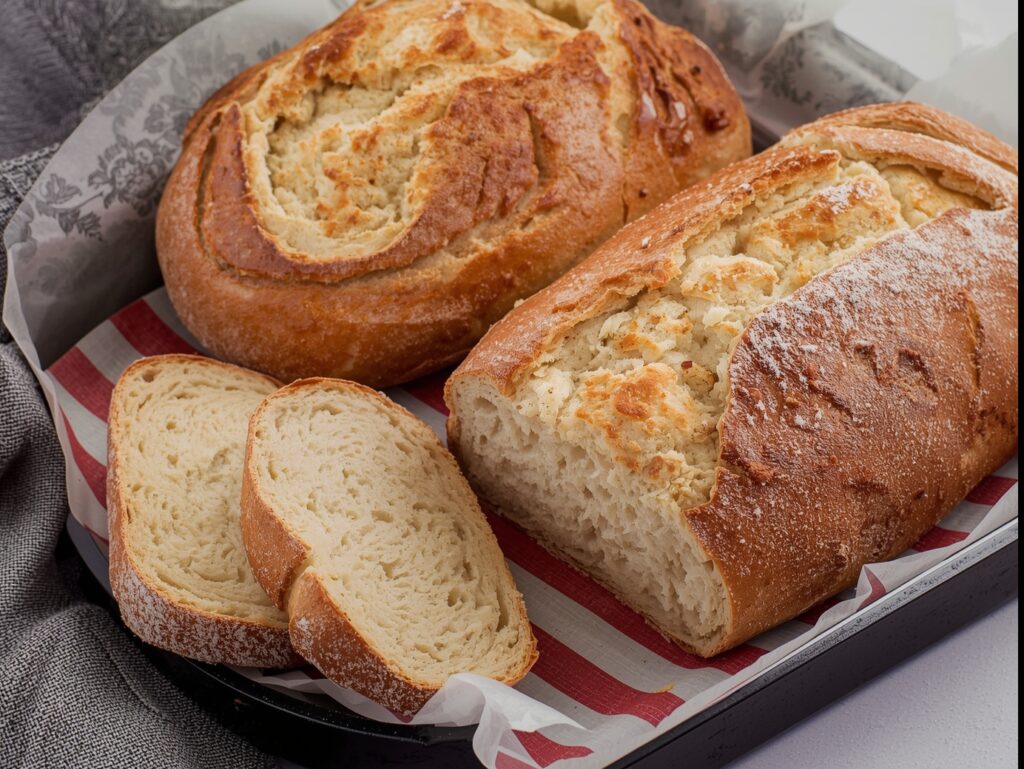
Fresh New Orleans French bread is best enjoyed within a few hours of baking when the crust maintains its delicate crispness. Slice it thick for po’ boy sandwiches or serve alongside gumbo, jambalaya, or other Louisiana specialties.
Store leftover bread in a paper bag at room temperature for up to two days. Avoid plastic bags, which will soften the crust. For more extended storage, slice the bread and freeze individual portions wrapped in plastic wrap and placed in freezer bags.
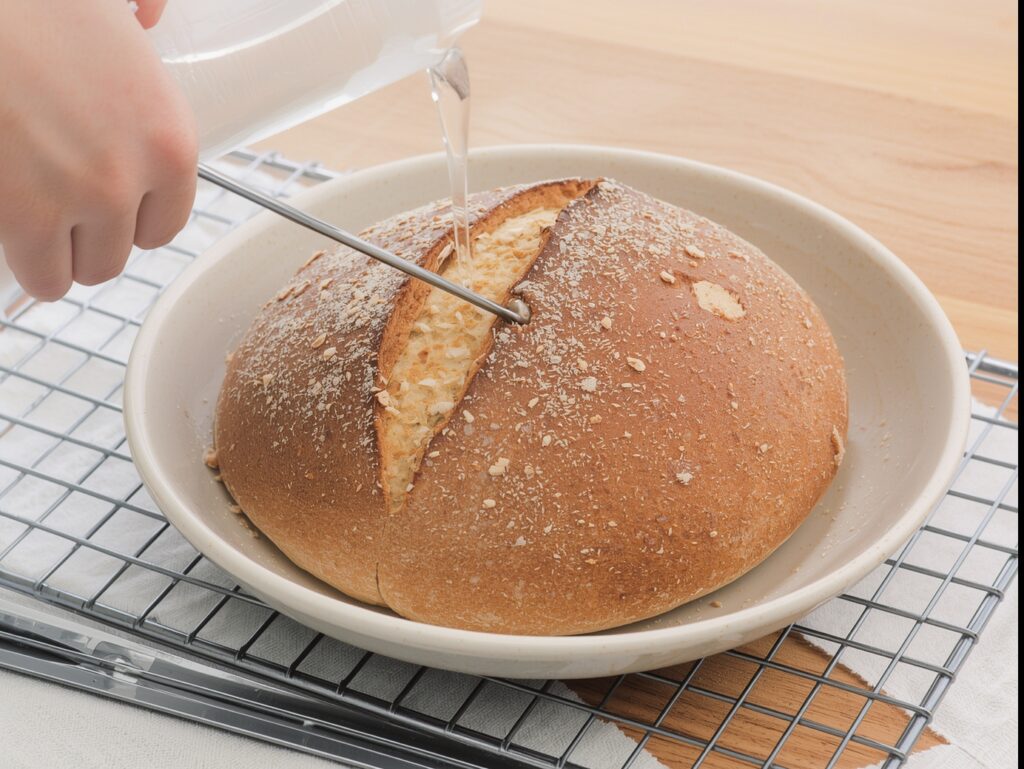
To refresh day-old bread, sprinkle the crust lightly with water and warm it in a 350°F oven for 5-7 minutes. This technique restores much of the original texture and makes the bread taste freshly baked.
Bringing New Orleans Home
Baking authentic New Orleans French bread connects you to the city’s rich culinary heritage while providing the perfect foundation for countless meals. The soft interior and delicate crust make it versatile enough for both casual sandwiches and elegant dinner presentations.
Practice makes perfect with bread baking, so don’t be discouraged if your first attempt isn’t exactly as expected. Each time you make this recipe, you’ll develop a better feel for the dough and timing. Soon, you’ll be creating bakery-quality loaves that capture the essence of New Orleans in every bite.
Start your next Louisiana-inspired meal with a warm loaf of homemade French bread, and experience how this simple pleasure can transform an ordinary dinner into something truly special.