Providing food for deer can support local wildlife, help maintain a healthy population, and offer a way to enjoy these graceful animals up close. Whether you’re a hunter, a wildlife enthusiast, or someone who loves seeing deer in your yard, building a DIY deer feeder is rewarding.
This guide will teach you everything you need to know about creating your deer feeder. From understanding why deer feeders matter to step-by-step instructions for building one, we’ve got you covered!
Why Build a DIY Deer Feeder?
If you’re wondering why you should be building your deer feeder rather than purchasing one, here are some significant reasons:
- Cost-Effective: Pre-made feeders can be pricey. Building one yourself with affordable materials saves money.
- Customization: DIY projects allow you to design feeders that work best for your environment and the type of feed you’d like to use.
- Skill Development: Building things with your hands is a great way to develop practical skills.
- Better for Deer: Feeders designed with local wildlife in mind can focus on their specific feeding habits and needs.
What You’ll Need Before You Begin
Creating a deer feeder involves a few basic materials. The supplies will vary depending on the type of design you choose, but here are the essentials:
Required Materials:
- PVC Pipe (4-6 inches in diameter)
PVC is durable, easy to work with, and ideal for making simple gravity-fed deer feeders.
- Bucket or Bin
A large plastic container to store the feed. This will double as your feeding station in roofed designs.
- Wooden Pallets or Boards
It’s useful if you’re constructing a standing or trough-style feeder.
- Tools
Circular saw drill, screws, clamps, and a measuring tape. These will cover the bases to cut, shape, and assemble your feeder.
- Paint or Sealant
If you’re using wood, apply weatherproofing to ensure your feeder withstands the elements.
- Feed
Specialized deer feed, corn, oats, or protein supplements can be used.
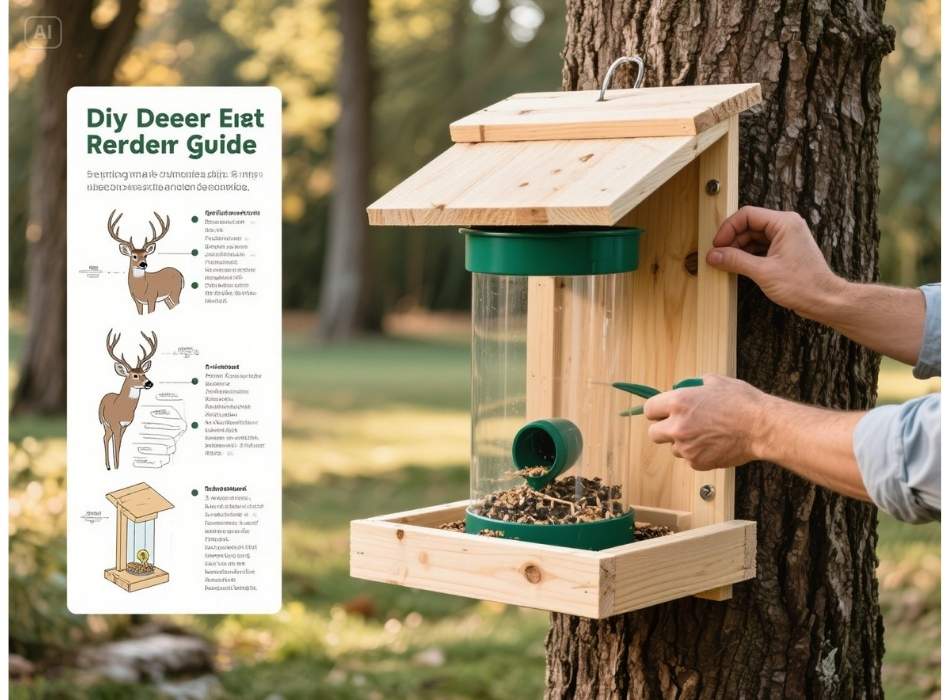
Types of DIY Deer Feeders and How to Build Them
There’s no one-size-fits-all when it comes to deer feeders. Here are three popular types of feeders, along with instructions for building each one.
1. PVC Pipe Gravity Feeder
This is one of the simplest feeders to make. It uses gravity, ensuring a continuous feed flow as deer consume it.
Steps:
- Cut the Pipe
Take a 4- to 6-inch PVC pipe and cut it to a length of 4 to 5 feet.
- Attach an Elbow Joint
Secure a 90-degree elbow joint at the bottom. This will direct the feed outward for deer to access.
- Create a Base
Use wooden stakes or a sturdy tripod stand to hold the pipe upright and elevate it to the desired height.
- Cap the Top
Cover the top of the pipe with a PVC cap to keep the feed dry and protected from the weather.
- Fill It Up
Pour the deer feed into the top of the pipe. Gravity will take care of the rest!
This design is easy to make, weather-resistant, and low-maintenance.
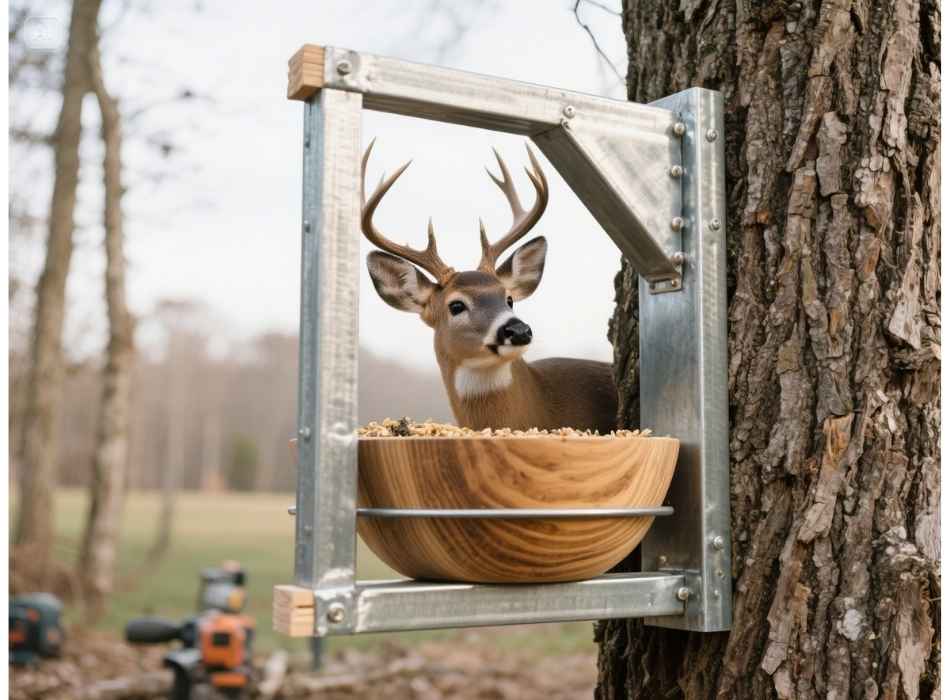
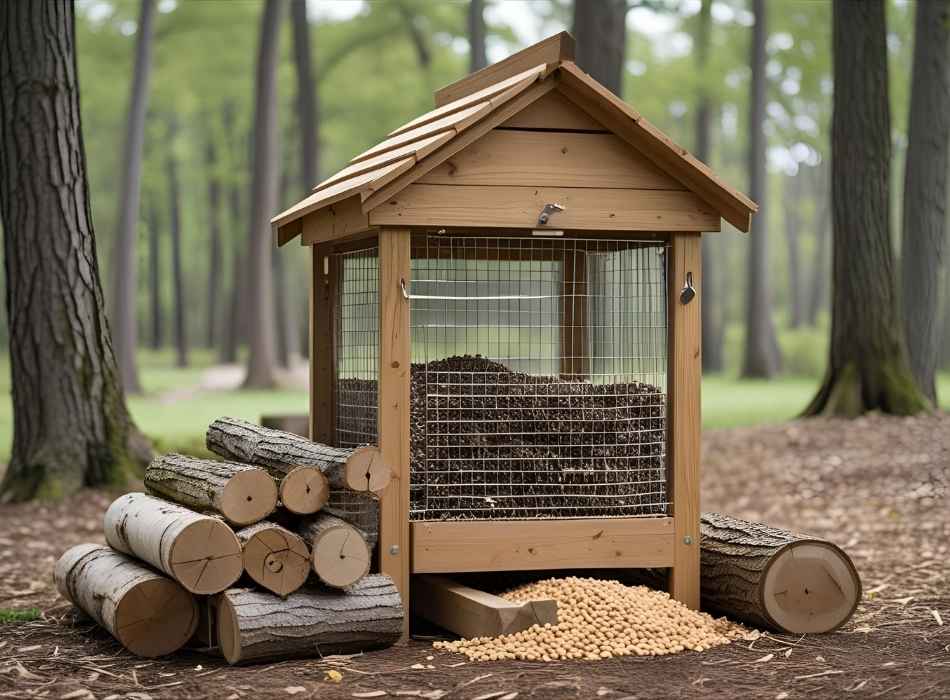
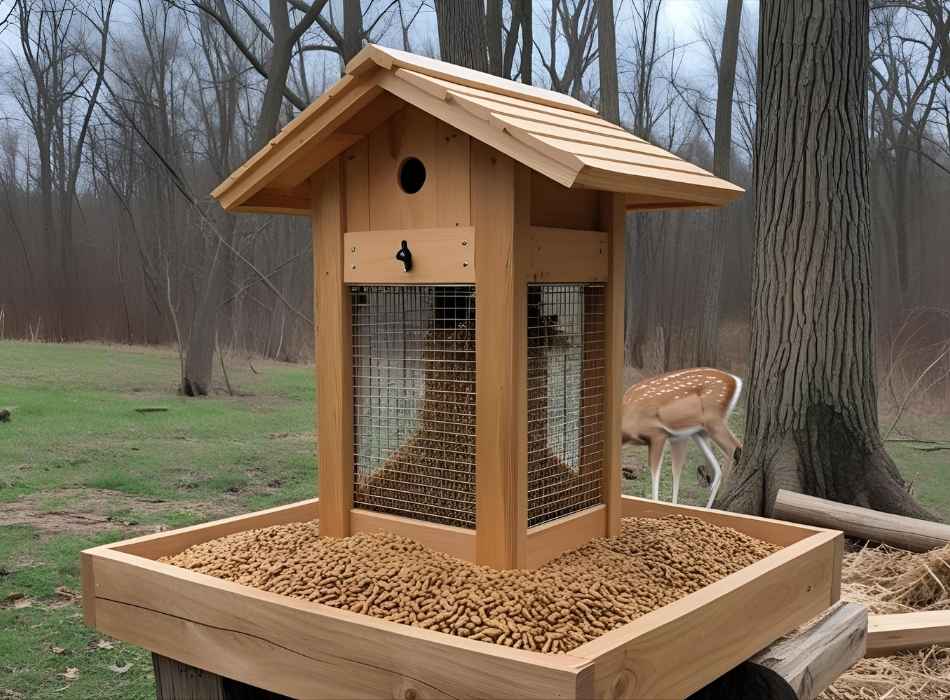
2. Trough-Style Feeder
Trough feeders are ideal if you want to feed multiple deer at once and don’t mind a larger construction project.
Steps:
- Build the Base
Create a rectangular frame using 2×4 wooden boards. Secure the frame with screws.
- Attach the Trough
Line the inside of the frame with a wooden plank to create the trough where the feed will sit.
- Add Legs
Attach four sturdy wooden legs to the corners of the frame. Aim for a height of around 2 feet to keep feed accessible to deer while deterring smaller animals.
- Install a Roof (Optional)
Protect the feed from rain by attaching a wooden or metal roof supported by tall standing beams.
Trough-style feeders are spacious, allowing several deer to feed simultaneously, and are particularly useful in areas with frequent rainfall when paired with a roof.
3. Bucket Feeder
This design is perfect if you have an old plastic bucket lying around.
Steps:
- Prepare the Bucket
Drill a small hole near the bottom of the bucket, just big enough for feed to flow out sparingly.
- Add a Dispenser
Attach a small tray or funnel to catch the feed as it flows out of the bucket.
- Hang It Up
Use a sturdy rope or chain to hang the bucket from a tree branch at deer height. Ensure it’s high enough to make it harder for other animals to reach.
- Secure It
Use some screws or nails to fasten the dispenser tray in place and prevent wobbling.
Bucket feeders are quick and easy to build, making them an excellent choice for beginners.
How to Attract Deer to Your Feeder
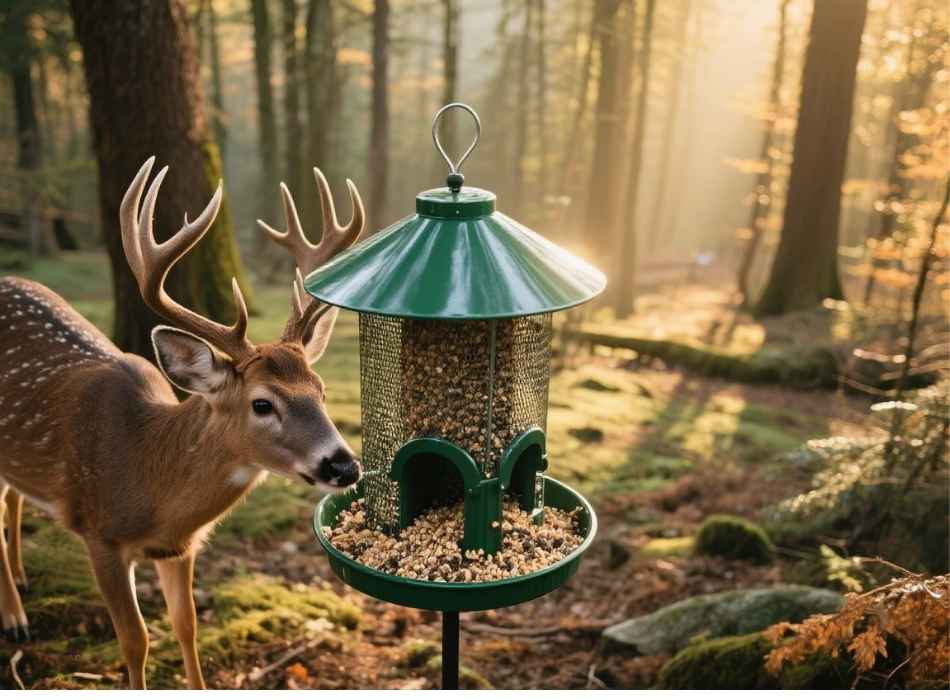
Building a feeder is only half the battle; you’ll also need to encourage deer to come to it. Follow these tips for the best results:
- Location Matters
Place your feeder in a quiet, secluded area where deer already frequent.
- Use the Right Feed
Deer enjoy feed such as corn, oats, or specialized deer pellets.
- Be Consistent
Fill your feeder regularly so that deer know they can rely on it.
- Reduce Human Scent
Avoid touching the feed with your bare hands, as human scent may scare off the deer. Wear gloves while setting up or filling the feeder.
- Keep It Clean
Clear away any old feed and debris around the feeder to maintain a healthy feeding area.
Safety and Legal Considerations
Before setting up your DIY deer feeder, it’s essential to familiarize yourself with local laws and safety guidelines:
- Check Local Regulations
Some states have strict rules about feeding wildlife, so ensure your feeder complies with these laws.
- Prevent Overfeeding
Deer should still forage naturally. Use feeders to supplement their diet rather than replace their natural food sources.
- Consider Other Wildlife
Set up safeguards (like specific feed placement or elevation) to prevent attracting unwanted animals like raccoons or bears.
A Project That Brings You Closer to Nature
Building a DIY deer feeder is a fun, productive project that benefits you and local wildlife. By offering food in a safe and controlled way, you’ll help deer thrive and enjoy the beauty of having these majestic creatures nearby.
Once your feeder is up and running, please take a few moments to appreciate the hard work and the fascinating connection it creates between you and the natural world.