Cooking a turkey might seem daunting, especially if it’s your first time handling a bird this size. Whether preparing for Thanksgiving, hosting a family gathering, or simply experimenting in the kitchen, getting the turkey right is key to pleasing your crowd. A juicy, perfectly cooked turkey is not only the star of the table but also a testament to your culinary skills.
One of the most common questions is, “How long does a 14-pound turkey take to cook?” Luckily, we’ve got you covered. This guide will take you through cook times, tips for ensuring a tender and flavorful turkey, and ways to avoid common turkey-cooking pitfalls.
By the end of this post, you’ll know exactly how long to keep your 14-pound bird in the oven, how to prepare it properly, and what Temperature to aim for so it’s perfectly cooked through every time.
Factors that Affect Turkey Cooking Time
Before jumping into precise cook times, it’s essential to understand the factors that can impact how quickly (or slowly) your turkey will cook. These include:
1. Your Oven Temperature
Most turkey recipes fall within a temperature range of 325°F to 375°F. The lower the Temperature, the longer it will take to cook your turkey, but a slow roast often yields more tender meat. If you are in a hurry, a slightly higher temperature can reduce cooking time, but be cautious of drying out the bird.
2. Stuffed or Unstuffed Birds

Cooking times vary considerably between stuffed and unstuffed turkeys. Stuffing increases the bird’s density, requiring additional cook time to ensure the stuffing reaches a safe internal temperature of at least 165°F.
3. Thawed vs. Frozen
Make sure your turkey is completely thawed before cooking. A partially frozen turkey will cook unevenly, often leading to an overcooked exterior and an undercooked interior. For a 14-pound turkey, allow 3 to 4 days to thaw in the refrigerator.
4. The Type of Turkey
If you’ve purchased a heritage turkey or your bird has been injected with brine or seasoning, these factors can slightly alter the cook time. Fresh and organic turkeys also behave differently from standard supermarket turkeys due to differences in moisture content. Always check the label for any special instructions or recommendations from the producer.
5. Stuffing vs. Dressing
Some families prefer to stuff their turkey with traditional stuffing, while others cook it separately as a dressing. This is a matter of personal preference; both methods have pros and cons. Stuffing a turkey can produce more flavorful meat and increase cooking time, making it more challenging to achieve an evenly cooked bird. On the other hand, cooking dressing separately allows you to control its consistency and moisture level without affecting the turkey.
6. Basting Your Turkey

Basting your turkey has long been considered a necessary step in achieving perfectly browned skin and juicy meat. However, recent studies have shown that basting has little effect on the turkey’s overall moisture.
Instead of relying on basting, consider using a cooking method like brining or adding butter under the skin to help keep your turkey moist during cooking. Basting can add extra fat and calories to your turkey if you use butter or oil in your basting liquid.
7. Carving Your Turkey
Once your turkey is cooked, it’s time to carve it for serving. Carving a large bird can seem intimidating, but with some simple steps, you can easily slice up your turkey like a pro.
Start by removing the legs and wings from the body. Use a sharp carving knife to cut through the joints where they meet the body. Then, carve thin slices of meat from the breast and thigh areas.
For extra flavor and juiciness, consider pouring any collected juices from the roasting pan back over the carved turkey before serving. This will help keep the meat moist and add even more delicious flavor.
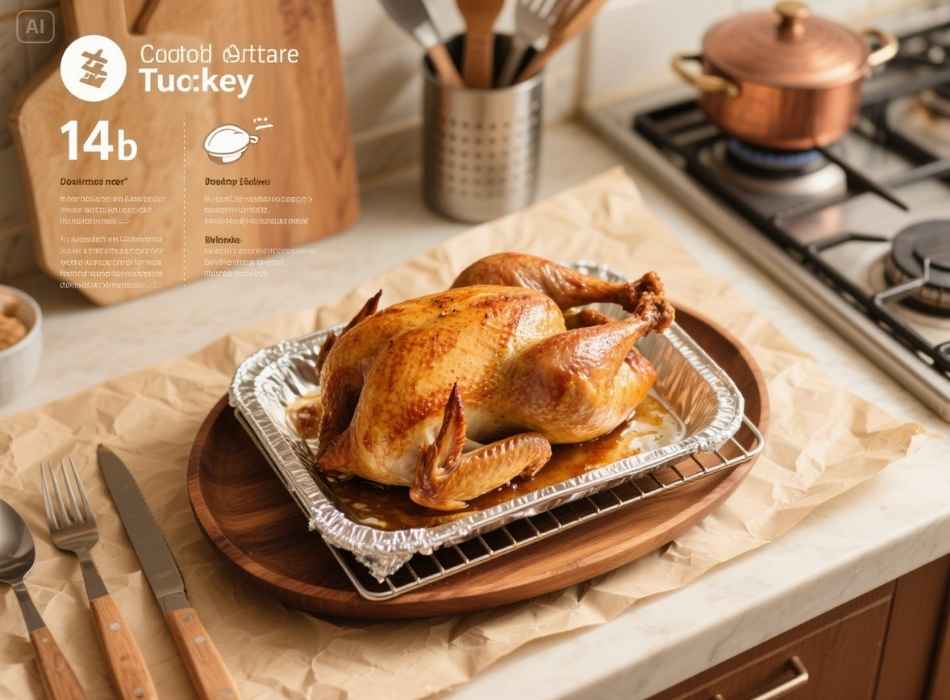
Step-by-Step Guide to Cooking a 14-Pound Turkey
Now that we’ve covered the basics, here’s a step-by-step approach to cooking a perfect 14-pound turkey.
1. Preheat Your Oven
Set your oven to 325°F for a standard approach or up to 350°F if you’re short on time. This Temperature is optimal for ensuring the turkey cooks evenly while retaining moisture.
2. Prepare Your Turkey
- Rinse and Dry: Pat your turkey dry with paper towels to ensure a crisp, golden-brown skin.
- Season Generously: Rub the turkey with olive oil, butter, or your preferred fat. Then season with salt, pepper, and any herbs you like. Common choices include rosemary, thyme, and garlic.
- Stuffing (Optional): If you’re stuffing your bird, ensure the stuffing is loosely packed to allow hot air to circulate.
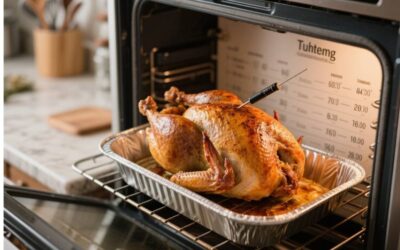
3. Set Up Roasting
- Use a Roasting Pan: Place the turkey on a roasting rack inside a pan to allow heat to circulate the bird.
- Tent with Foil (Optional): Cover the breast loosely with aluminum foil during the first half of cooking to prevent the breast from drying.
4. Cook Time Chart
Here’s how long you should cook your 14-pound turkey depending on several variables:
| Type of Turkey | Cooking Temperature (325°F) | Cooking Time |
|---|---|---|
| Unstuffed | 13 to 15 minutes per pound | Approx. 3 to 3.5 hours |
| Stuffed | 16 to 17 minutes per pound | Approx. 3.75 to 4 hours |
Remember, these times are guidelines and can vary depending on your oven.
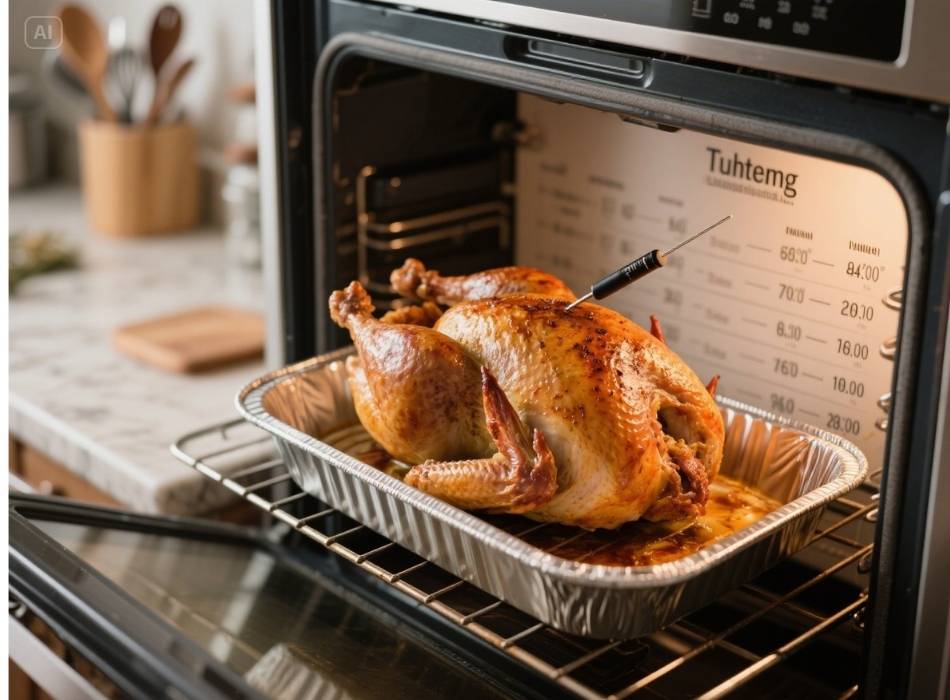
5. Check the Internal Temperature
Use a reliable meat thermometer to check two key areas:
- The Thickest Part of the Breast – It should reach 165°F.
- The Innermost Part of the Thigh – It should also reach 165°F.
- The Center of the Stuffing (if applicable): For safety, the center of the stuffing needs to hit 165°F.
It’s essential to insert the thermometer at least 1.5 inches into the turkey and avoid touching any bones, as this can give you an inaccurate reading.
If your bird is not up to Temperature yet, continue cooking until it reaches the appropriate internal Temperature. This step is crucial for ensuring your turkey is fully cooked and safe.
6. Resting Period
Once your turkey has reached the desired internal Temperature, remove it from the oven and let it rest for about 20-30 minutes before carving. This allows the juices to redistribute throughout the meat, making it juicier and more flavorful.
7. Rest the Turkey
Once your turkey is out of the oven, tent it with foil and allow it to rest for at least 20 to 30 minutes. This helps the juices redistribute throughout the bird and makes for tender, flavorful meat.
Tips for Maximizing Flavor and Moisture
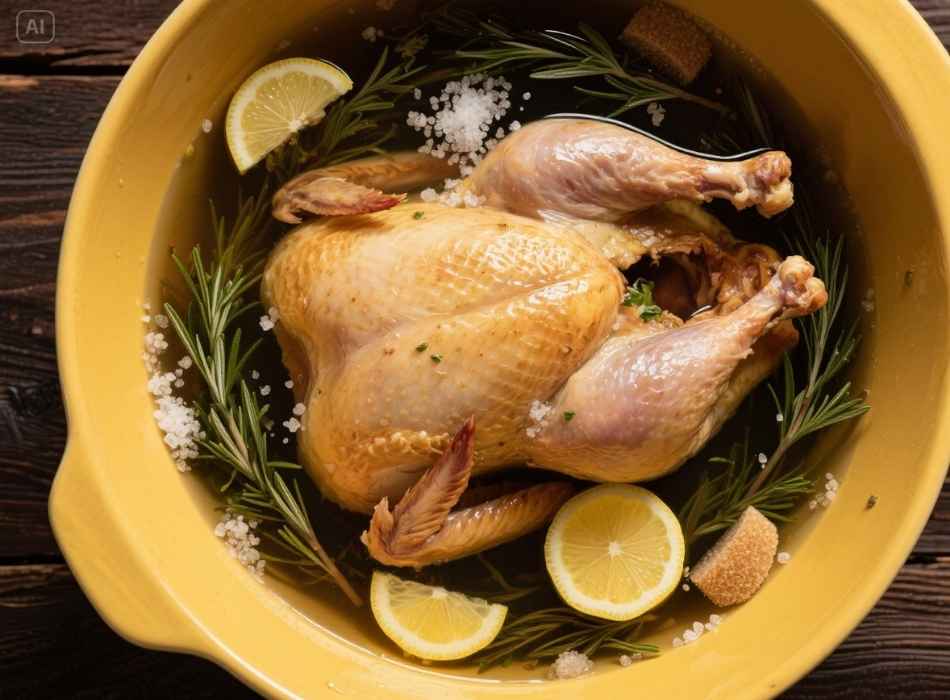
1. Use a Brine
For a moist turkey, consider brining it 24 hours before roasting. A brine involves soaking the bird in a salted water solution, often with additional seasonings like sugar, lemon, or herbs. This not only enhances flavor but also helps lock moisture into the meat.
2. Baste Strategically
Contrary to popular belief, constant basting isn’t mandatory. Instead, baste once or twice during the last hour of cooking to help the skin achieve that beautiful golden crust.

3. Choose Quality
Whenever possible, opt for a high-quality, pasture-raised turkey. The flavor difference is significant and well worth the slight cost increase.
4. Use Aromatics
Add onions, garlic, apples, and fresh rosemary into the roasting pan or turkey cavity for extra flavor. These aromatics will infuse into the turkey as it cooks, resulting in a more flavorful bird.
5. Watch the Temperature
Invest in a meat thermometer to ensure your turkey is perfectly cooked. The breast should reach an internal temperature of 165°F, while the thigh should be at least 175°F.
6. Let it Rest
After removing the turkey from the oven, let it rest for at least 20-30 minutes before carving. This allows the juices to redistribute, resulting in a juicier and more tender turkey.
7. Don’t Forget About Leftovers
Turkey leftovers are just as delicious as the main meal! Use them to make sandwiches, salads, soups, or even a turkey pot pie. Just make sure to properly store the leftovers in an airtight container in the refrigerator within 2 hours of cooking.
8. Try Different Seasonings and Cooking Methods
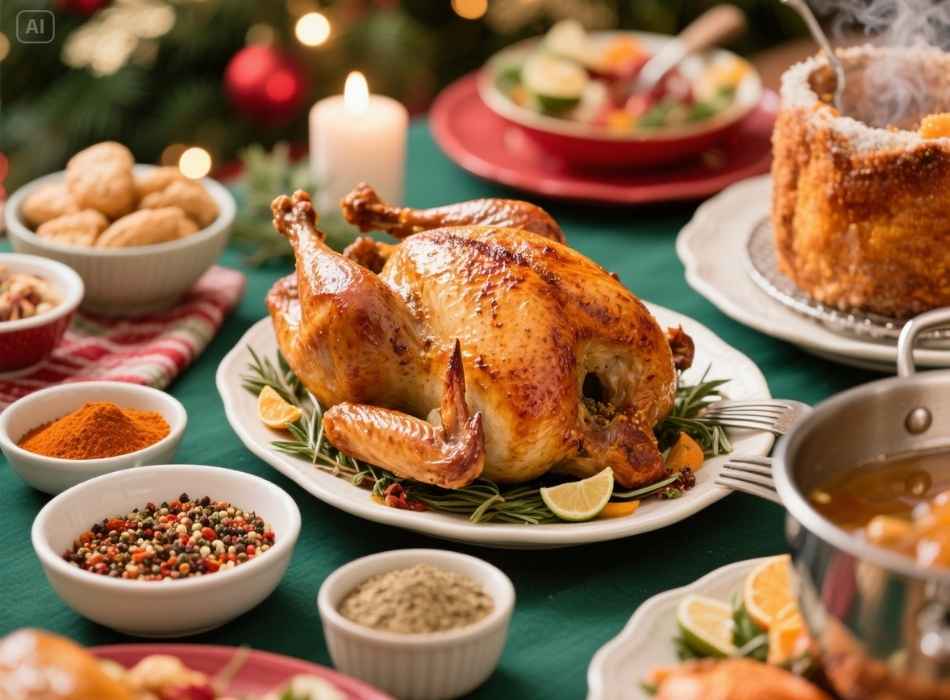
While traditional roasted turkey is always a classic option, don’t be afraid to experiment with different seasonings and cooking methods. Experiment with brining, smoking, or even deep frying your turkey for a unique and flavorful twist on this holiday favorite.
9. Consider Turkey Alternatives
If you have guests who may not eat meat or prefer something other than turkey, consider offering alternative options such as a vegetarian main dish or roasted ham. This ensures that all your guests feel included and have something delicious to enjoy.
10. Don’t Forget the Sides
While turkey may take center stage, don’t forget about the sides! Traditional Thanksgiving sides like mashed potatoes, stuffing, and cranberry sauce are always a hit, but don’t be afraid to mix it up with new recipes or incorporate seasonal ingredients. And don’t forget about including options for those with dietary restrictions—offering gluten-free or vegan options can make all of your guests feel welcome at the table.
Let’s be honest, one of the best parts of Thanksgiving is the leftovers. Make sure you have enough containers on hand to send home leftovers.
Common Turkey Myths to Avoid
Myth 1: A higher temperature cooks the turkey faster.
Fact: While cooking at very high temperatures may reduce cook time slightly, it’s likely to overcook and dry out the outer layers before the interior is done.
Myth 2: Pink meat means it’s undercooked.
Fact: Turkey meat, especially around the joints, may remain slightly pink even when it reaches a safe temperature. Always rely on your thermometer for accuracy.
Myth 3: Stuffing increases flavor and moisture in the turkey.
Fact: Stuffing must reach a food-safe temperature (165°F), which often means drying out the turkey. Cook your stuffing separately for best results.
Master the Art of Turkey Cooking
Cooking a 14-pound turkey doesn’t need to be intimidating. With proper preparation, accurate timing, and a reliable thermometer, you’ll always serve a tender, flavorful, and perfect bird. Whether hosting family or showing off your culinary skills to friends, this guide covers you.
Need more tips for your next big meal? Subscribe to our newsletter or check out our recipes for sides, desserts, and everything!